
Apparatus and equipment (GCSE)
KS4 National Curriculum Statement(s) covered
- Applying a knowledge of a range of techniques, apparatus, and materials to select those appropriate both for fieldwork and for experiments. (WS)
- Carrying out experiments appropriately, having due regard to the correct manipulation of apparatus, the accuracy of measurements, and health and safety considerations. (WS)
- Making and recording observations and measurements using a range of apparatus and methods. (WS)
Skip to:
In GCSE chemistry, it's essential to become familiar with the various types of lab equipment, instruments, and apparatus you'll encounter. These tools help you carry out experiments safely and accurately. Understanding the differences between these terms can improve your comprehension and ability to use them correctly.
In the context of a chemistry lab, the terms "instrument," "apparatus," and "equipment" are often used interchangeably but have distinct meanings:
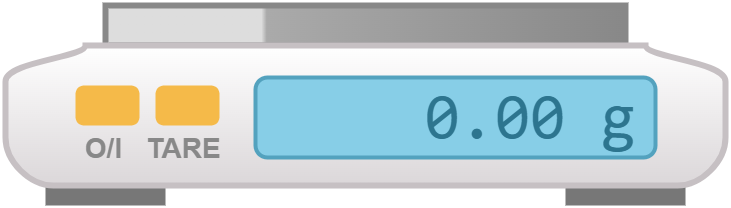
- An instrument is a device or tool used for precise scientific measurements or for carrying out specific analytical tasks. Including sensors like temperature sensors, pH meters, and digital balances.
- Apparatus refers to the set of tools and devices needed for a particular experiment or procedure. It includes both the individual pieces and the collective setup.
- Equipment is a broader term that encompasses all the necessary items used in a lab for experiments and research. It includes both instruments and apparatus but also extends to general lab tools and machinery (e.g. fume hood, hot plate, safety gear).
Accurate and reliable data is the foundation of scientific research. Laboratory apparatus allows scientists to control and manipulate variables, ensuring precise measurements and observations. Without the right apparatus, experiments would be prone to errors and inconsistencies, making it difficult to draw valid conclusions.
Measuring Instruments
Measuring liquids and other substances accurately is a fundamental part of chemistry. Various tools are designed to measure volumes and temperatures precisely.
| instrument | description | common uses | photo | sketch |
|---|---|---|---|---|
| top-pan balance | electronic or mechanical balance with a flat pan on top; place the object to be weighed on the pan and read the measurement on the display | measuring the mass of substances | 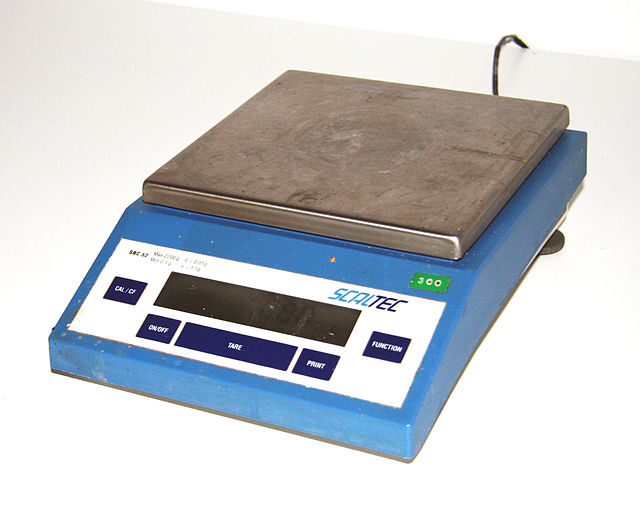 |
 |
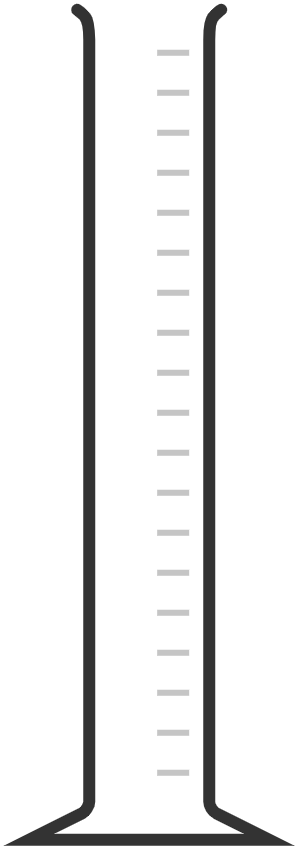
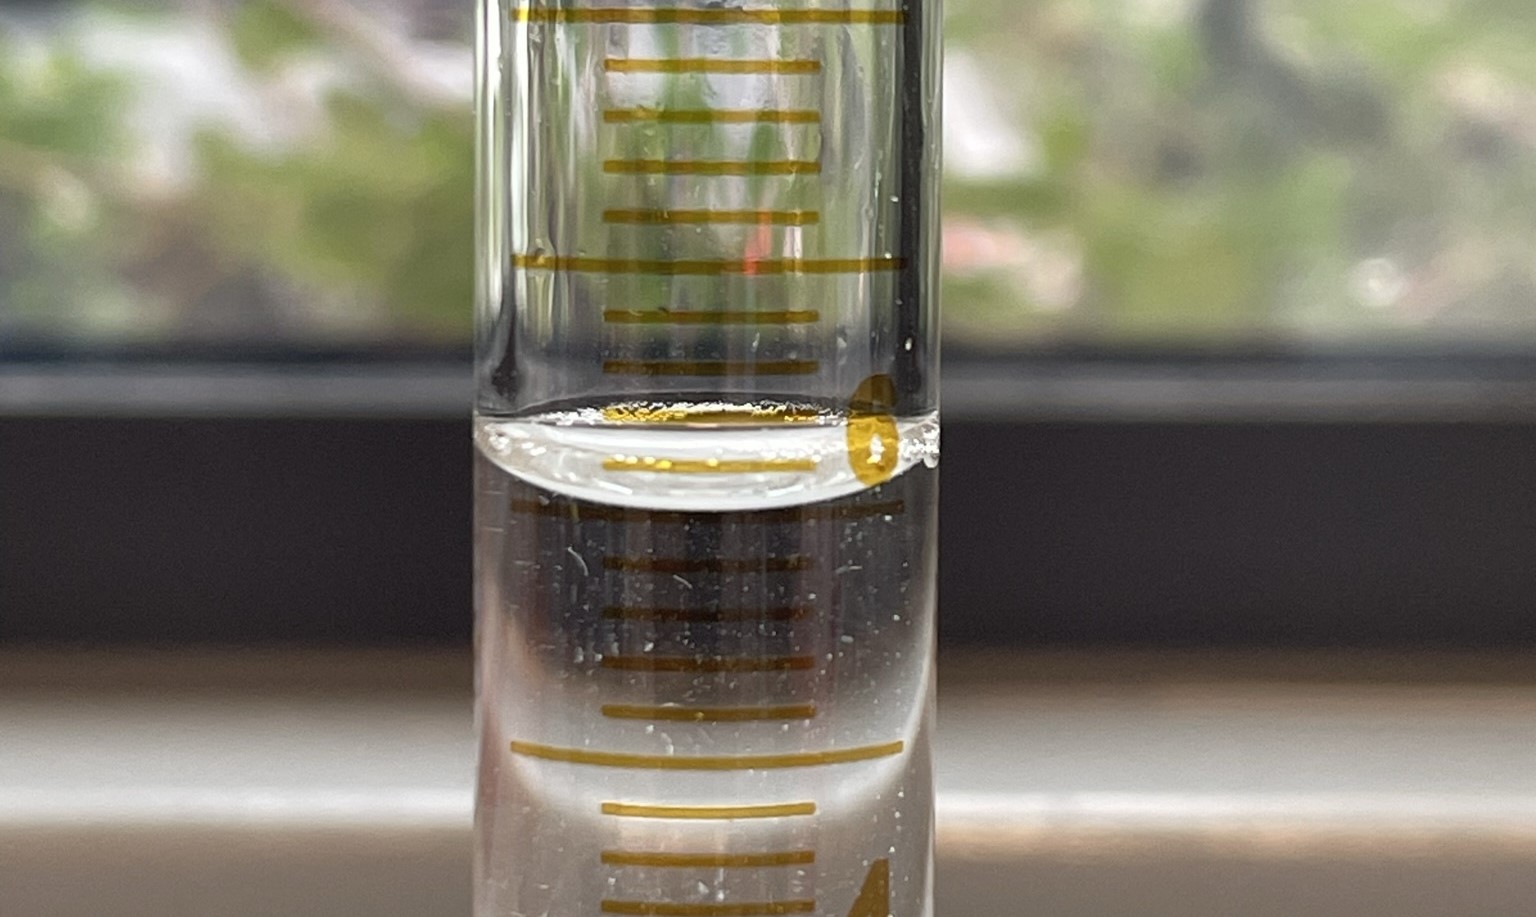
| measuring cylinder | cylindrical container marked with a scale; read the meniscus at eye level | measuring liquid volumes | 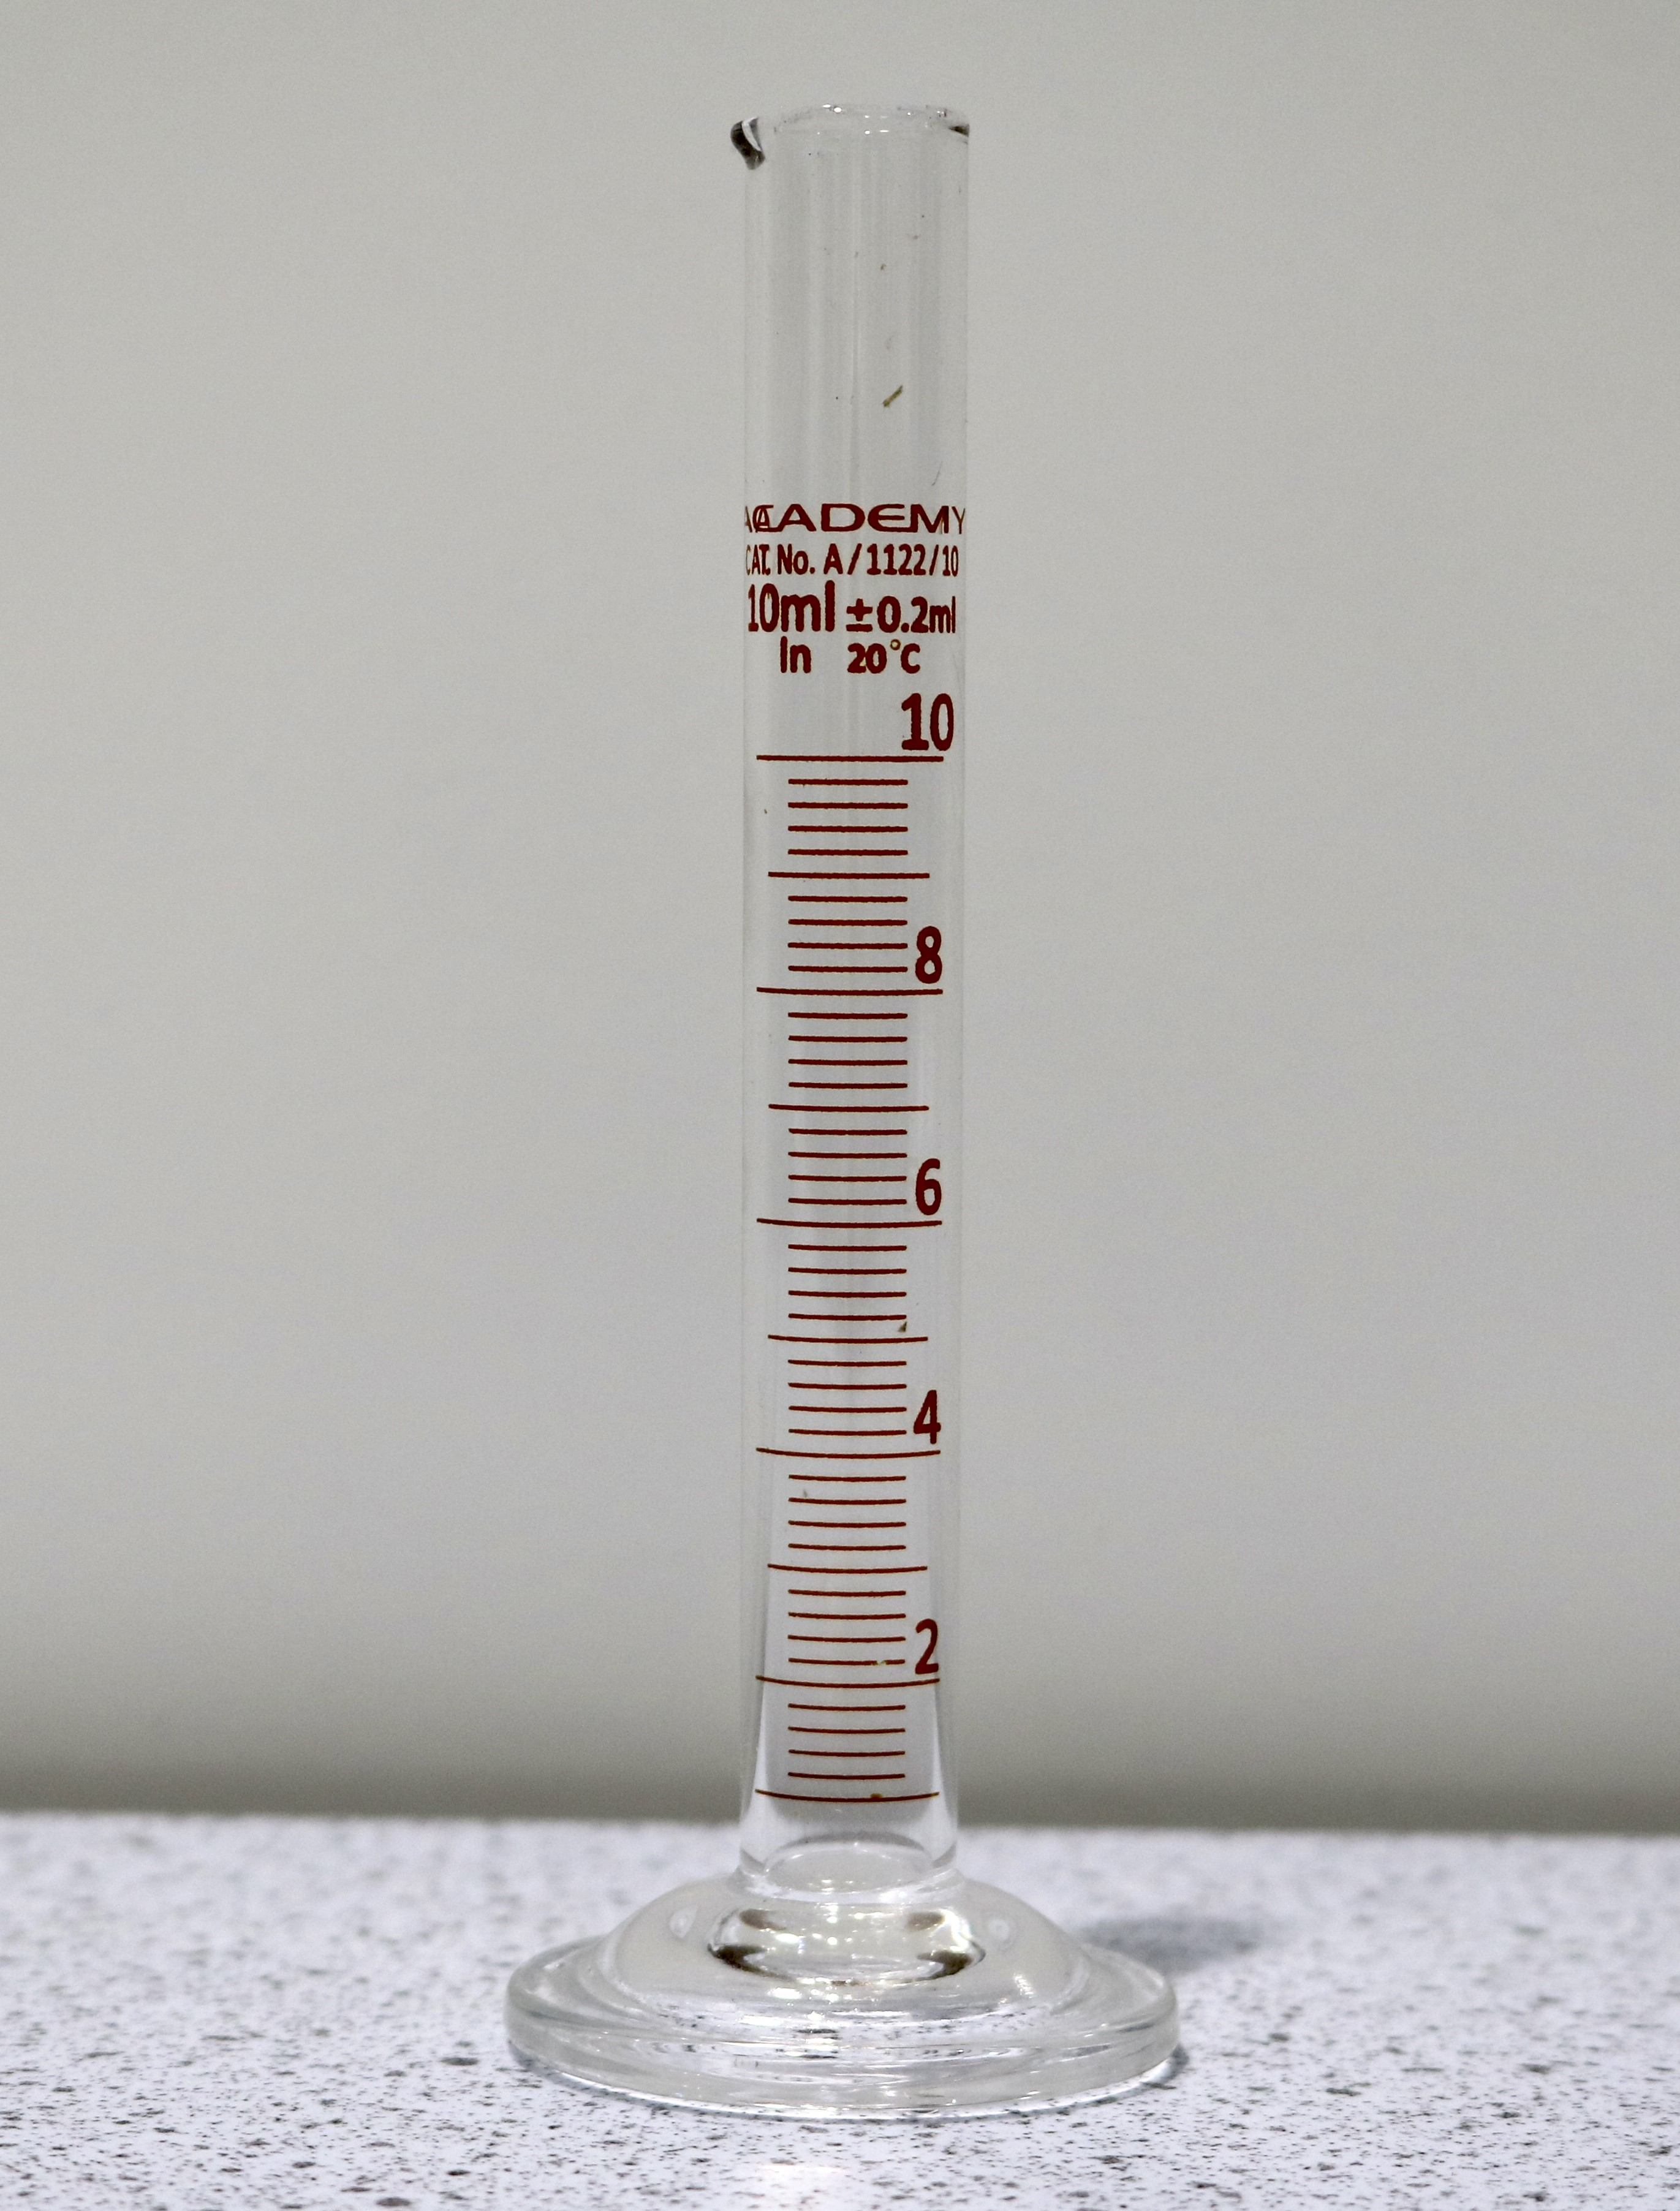 |
 |
| burette | long, graduated tube with a tap at one end; read the meniscus at eye level while controlling the tap to release liquid drop by drop | titration to measure exact volumes of liquid | 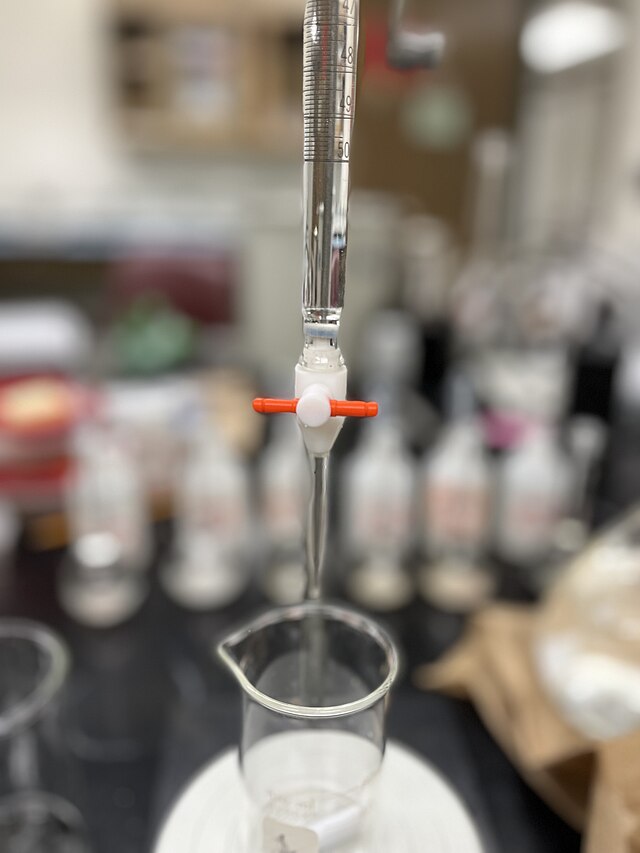 Image licensed under CC BY 4.0 |
 |
| plastic pipette | for adding small volumes of liquid; squeeze the bulb to draw and release liquid | measuring and transferring small volumes of liquid |  Image licensed under CC BY-SA 4.0 |
 |
| volumetric pipette | glass tube designed to deliver precise volumes of liquid; use a pipette filler to draw liquid to the mark, then release | measuring and transferring specific volumes of liquid |  Image licensed under CC BY-SA 3.0 |
 |
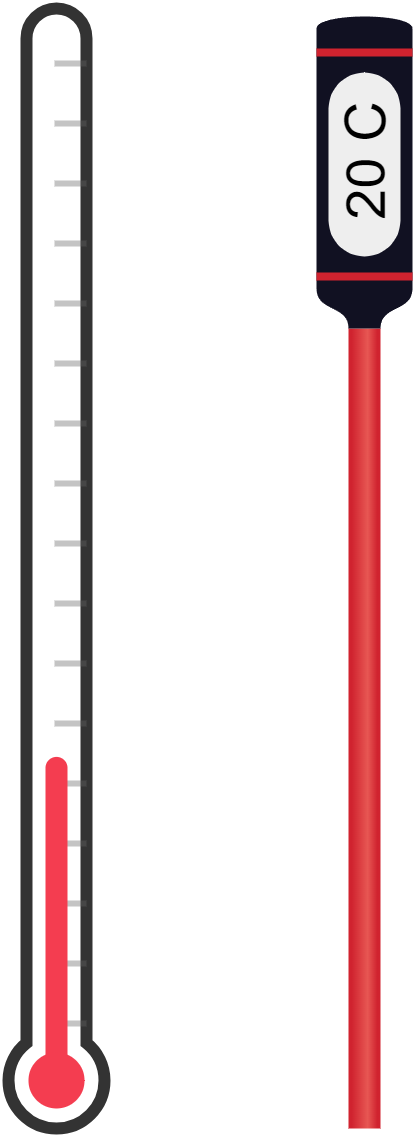
| thermometer | device used to measure temperature; immerse the bulb or probe in the substance without touching the container's sides | monitoring temperatures during experiments |  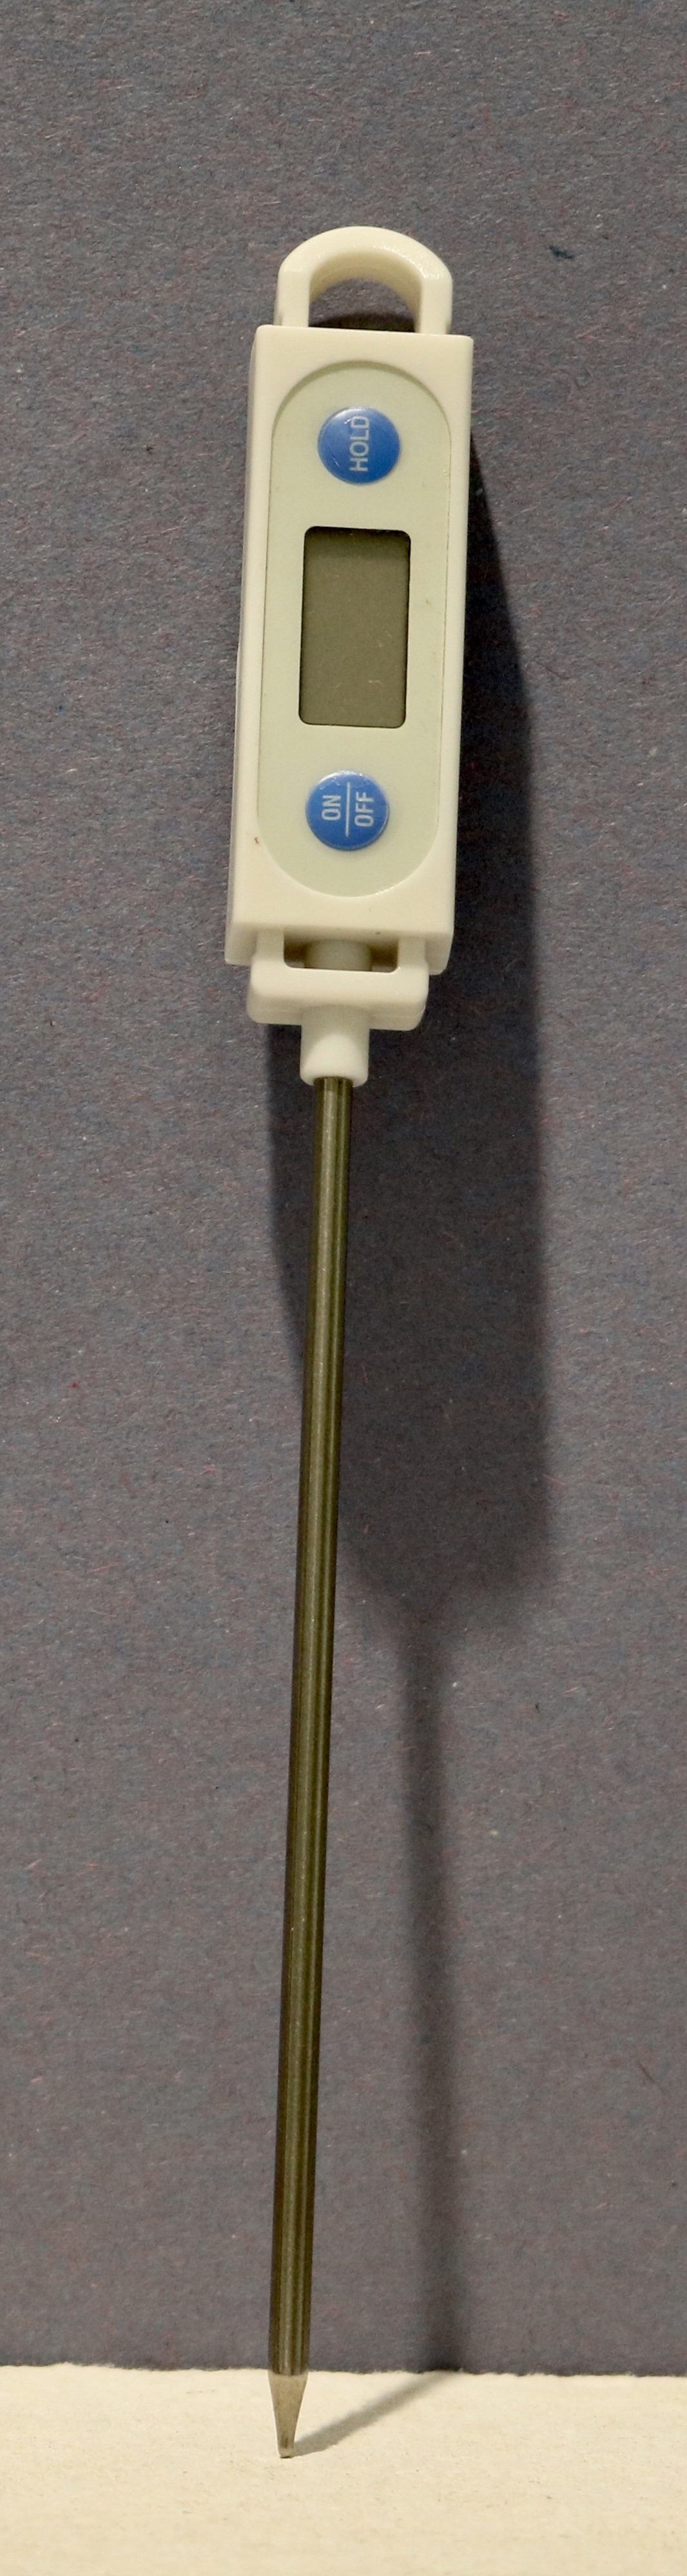 |
 |
| stopwatch | device for measuring time; start and stop at the beginning and end of the reaction | timing reactions |  |
 |
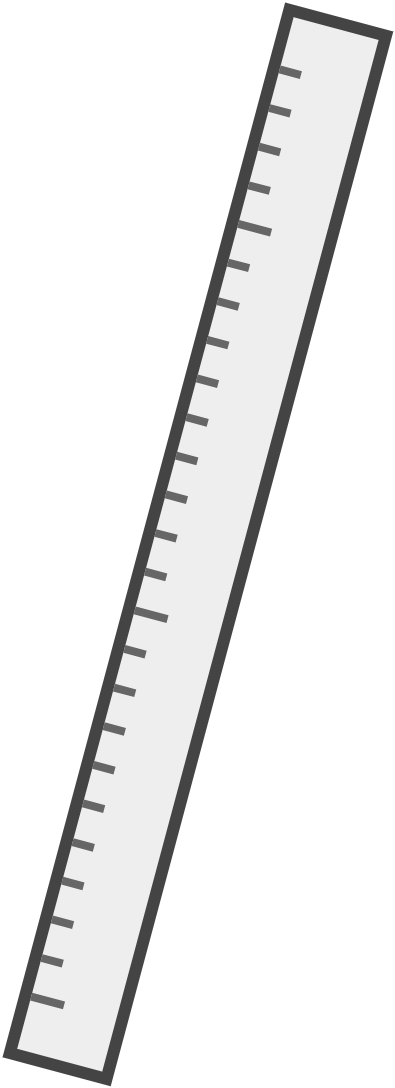
| ruler | straight edged tool with marked scales; align the object with the zero mark for accurate measurement | measuring lengths and distances in experiments |  |
 |
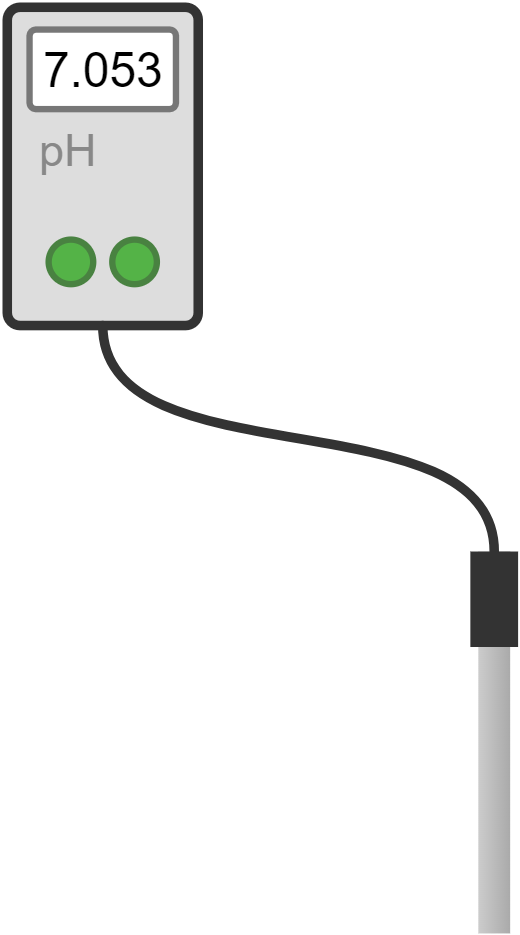
| pH meter | device used to measure the acidity or alkalinity of a solution; calibrate before use, then immerse the electrode in the solution | determining the pH of various substances |  |
 |
Many measuring instruments come in different sizes to suit various volumes of liquids. Smaller sizes, such as 10 cm³ or 50 cm³ measuring cylinders, are used for more precise measurements because they allow for finer control over the volume being measured. Larger sizes, such as 100 cm³ measuring cylinders, are suitable for measuring larger volumes when the total quantity is more important than precision. This is because the relative error can be higher in larger volumes; the graduations are typically wider apart, making it harder to read exact values, leading to less precise measurements.
Analog vs Digital:
- Analog instruments include traditional thermometers and balances that rely on a scale and pointer. They can be less precise due to human error in reading measurements, limited resolution, and potential wear and tear.
- Traditional pH measurement often uses pH paper or other chemical indicators which change colour based on the acidity or alkalinity of the solution. The colour change is then compared to a colour chart, which is often not very precise due to human error in interpreting the shades and limited to the resolution of the colour chart.
- Digital instruments provide a numerical readout and are generally more accurate, providing exact readings that are less prone to error. They are often more precise because they reduce the variability introduced by human error. For example, a digital pH meter gives a precise pH value without the need for interpretation and often has higher resolution and reliability.
When using measuring cylinders, burettes, or pipettes, it's crucial to read the liquid level correctly to ensure accurate measurements. The liquid surface often forms a curve called the meniscus. For most liquids, the meniscus is concave, curving upwards at the edges and dipping in the centre.
Steps to read the meniscus:
- Ensure the measuring instrument is on a flat, stable surface to avoid tilting, which can distort the meniscus and lead to incorrect readings.
- Always position your eye level with the meniscus. This avoids parallax error, which occurs when the measurement is read from an angle.
- For most liquids, including water, read the value at the bottom of the meniscus. This is where the liquid's volume is most accurately measured.
Using a consistent method to read the meniscus ensures that measurements are reliable and reproducible, which is essential for achieving consistent results in experiments.
Reaction Vessels
Reaction vessels are used to contain and mix chemicals during experiments. These vessels come in various shapes and sizes, each serving a specific purpose in the lab.
| apparatus | description | common uses | photo | sketch |
|---|---|---|---|---|
| beaker | glass or plastic container; used for mixing, heating, and stirring liquids, place on a flat surface and avoid direct heating | mixing, heating, and stirring liquids | 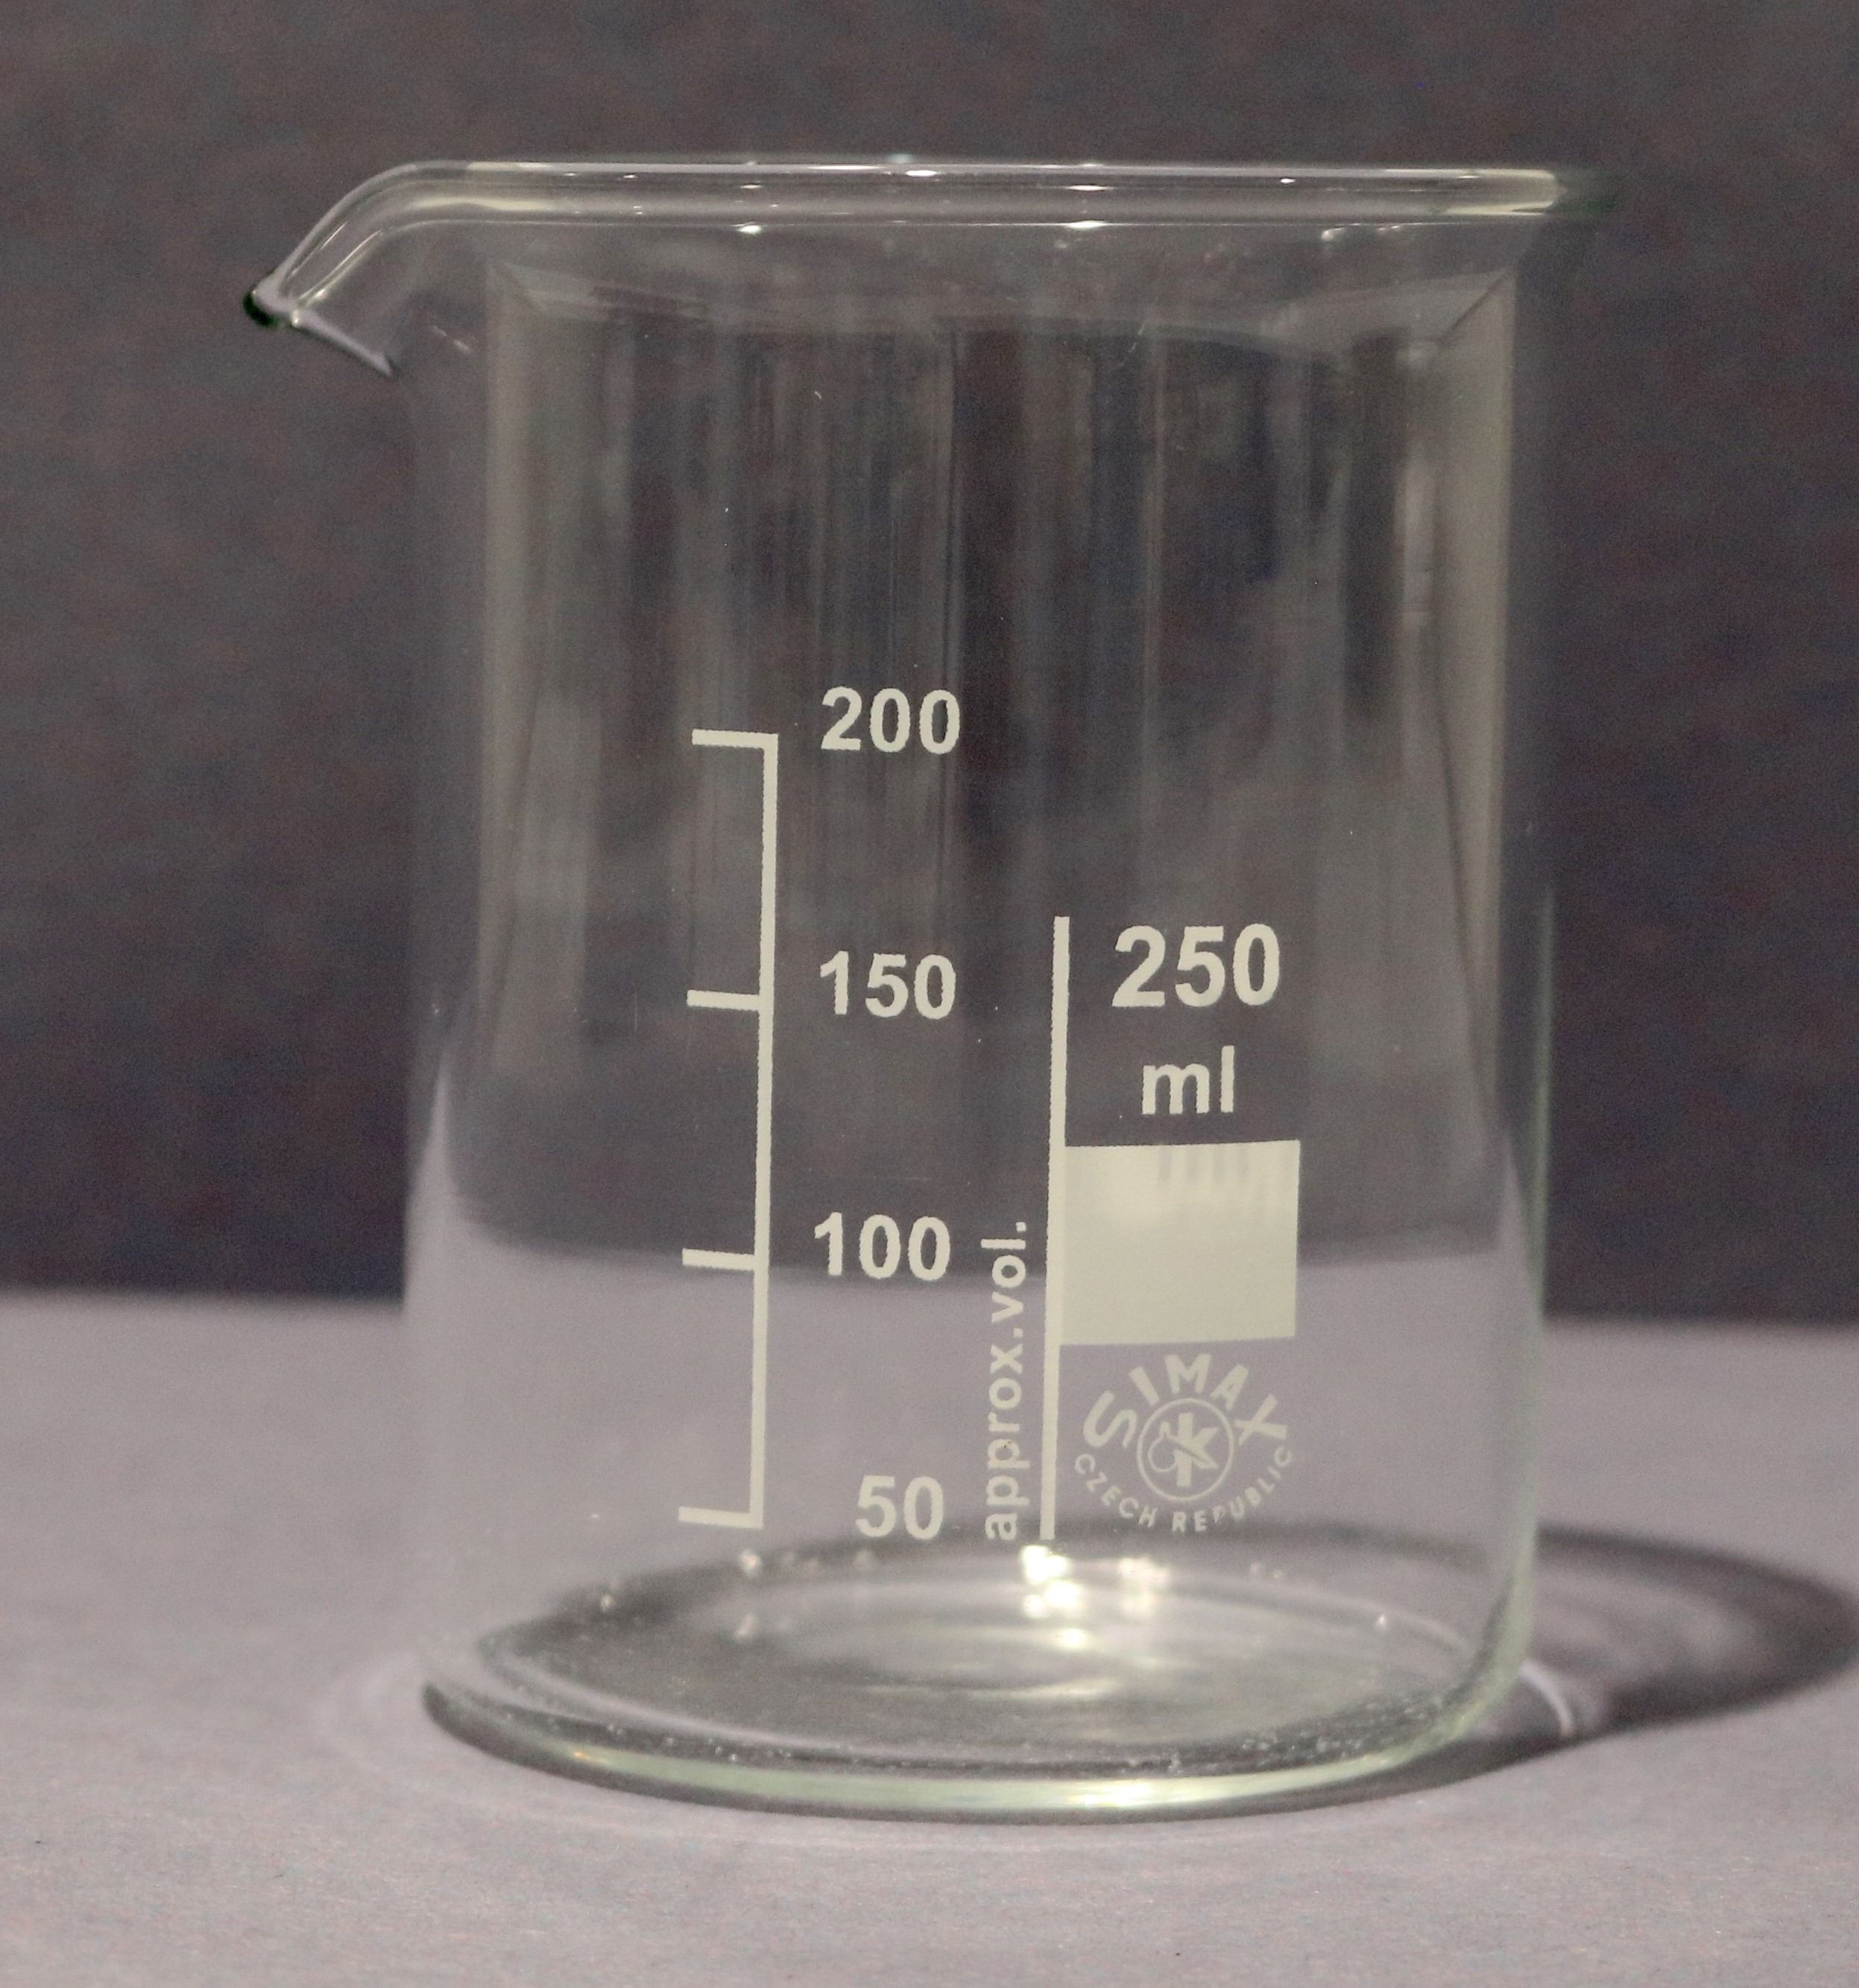 |
 |
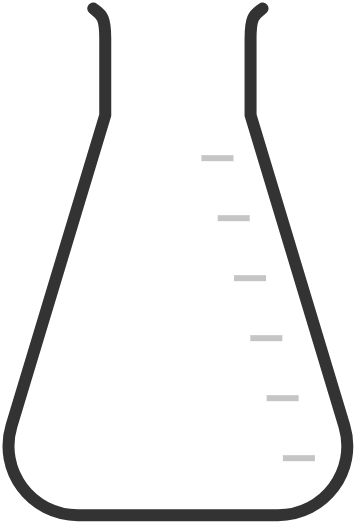
| conical flask | flask with a cone shape and flat bottom; used for mixing and storing liquids, especially when heating is required, swirl gently to mix | mixing and storing liquids, especially when heating is required |  |
 |
| round-bottom flask | spherical bottom flask; used for heating and boiling liquids evenly, often in distillation setups, secure with a clamp stand | heating and boiling liquids evenly, often used in distillation setups |  Image licensed under CC BY-SA 4.0 |
 |
| test tube | small glass tube; used for holding small quantities of substances for reactions or heating, hold with a test tube holder | holding small quantities of substances for reactions or heating |  |
 |
| boiling tube | larger version of a test tube; used for heating substances that require larger volumes, hold with a test tube holder | heating substances that require larger volumes |  |
|
| evaporating basin | shallow ceramic dish; used for evaporating solvents from solutions, place on a wire gauze over a Bunsen burner | evaporating solvents from solutions | 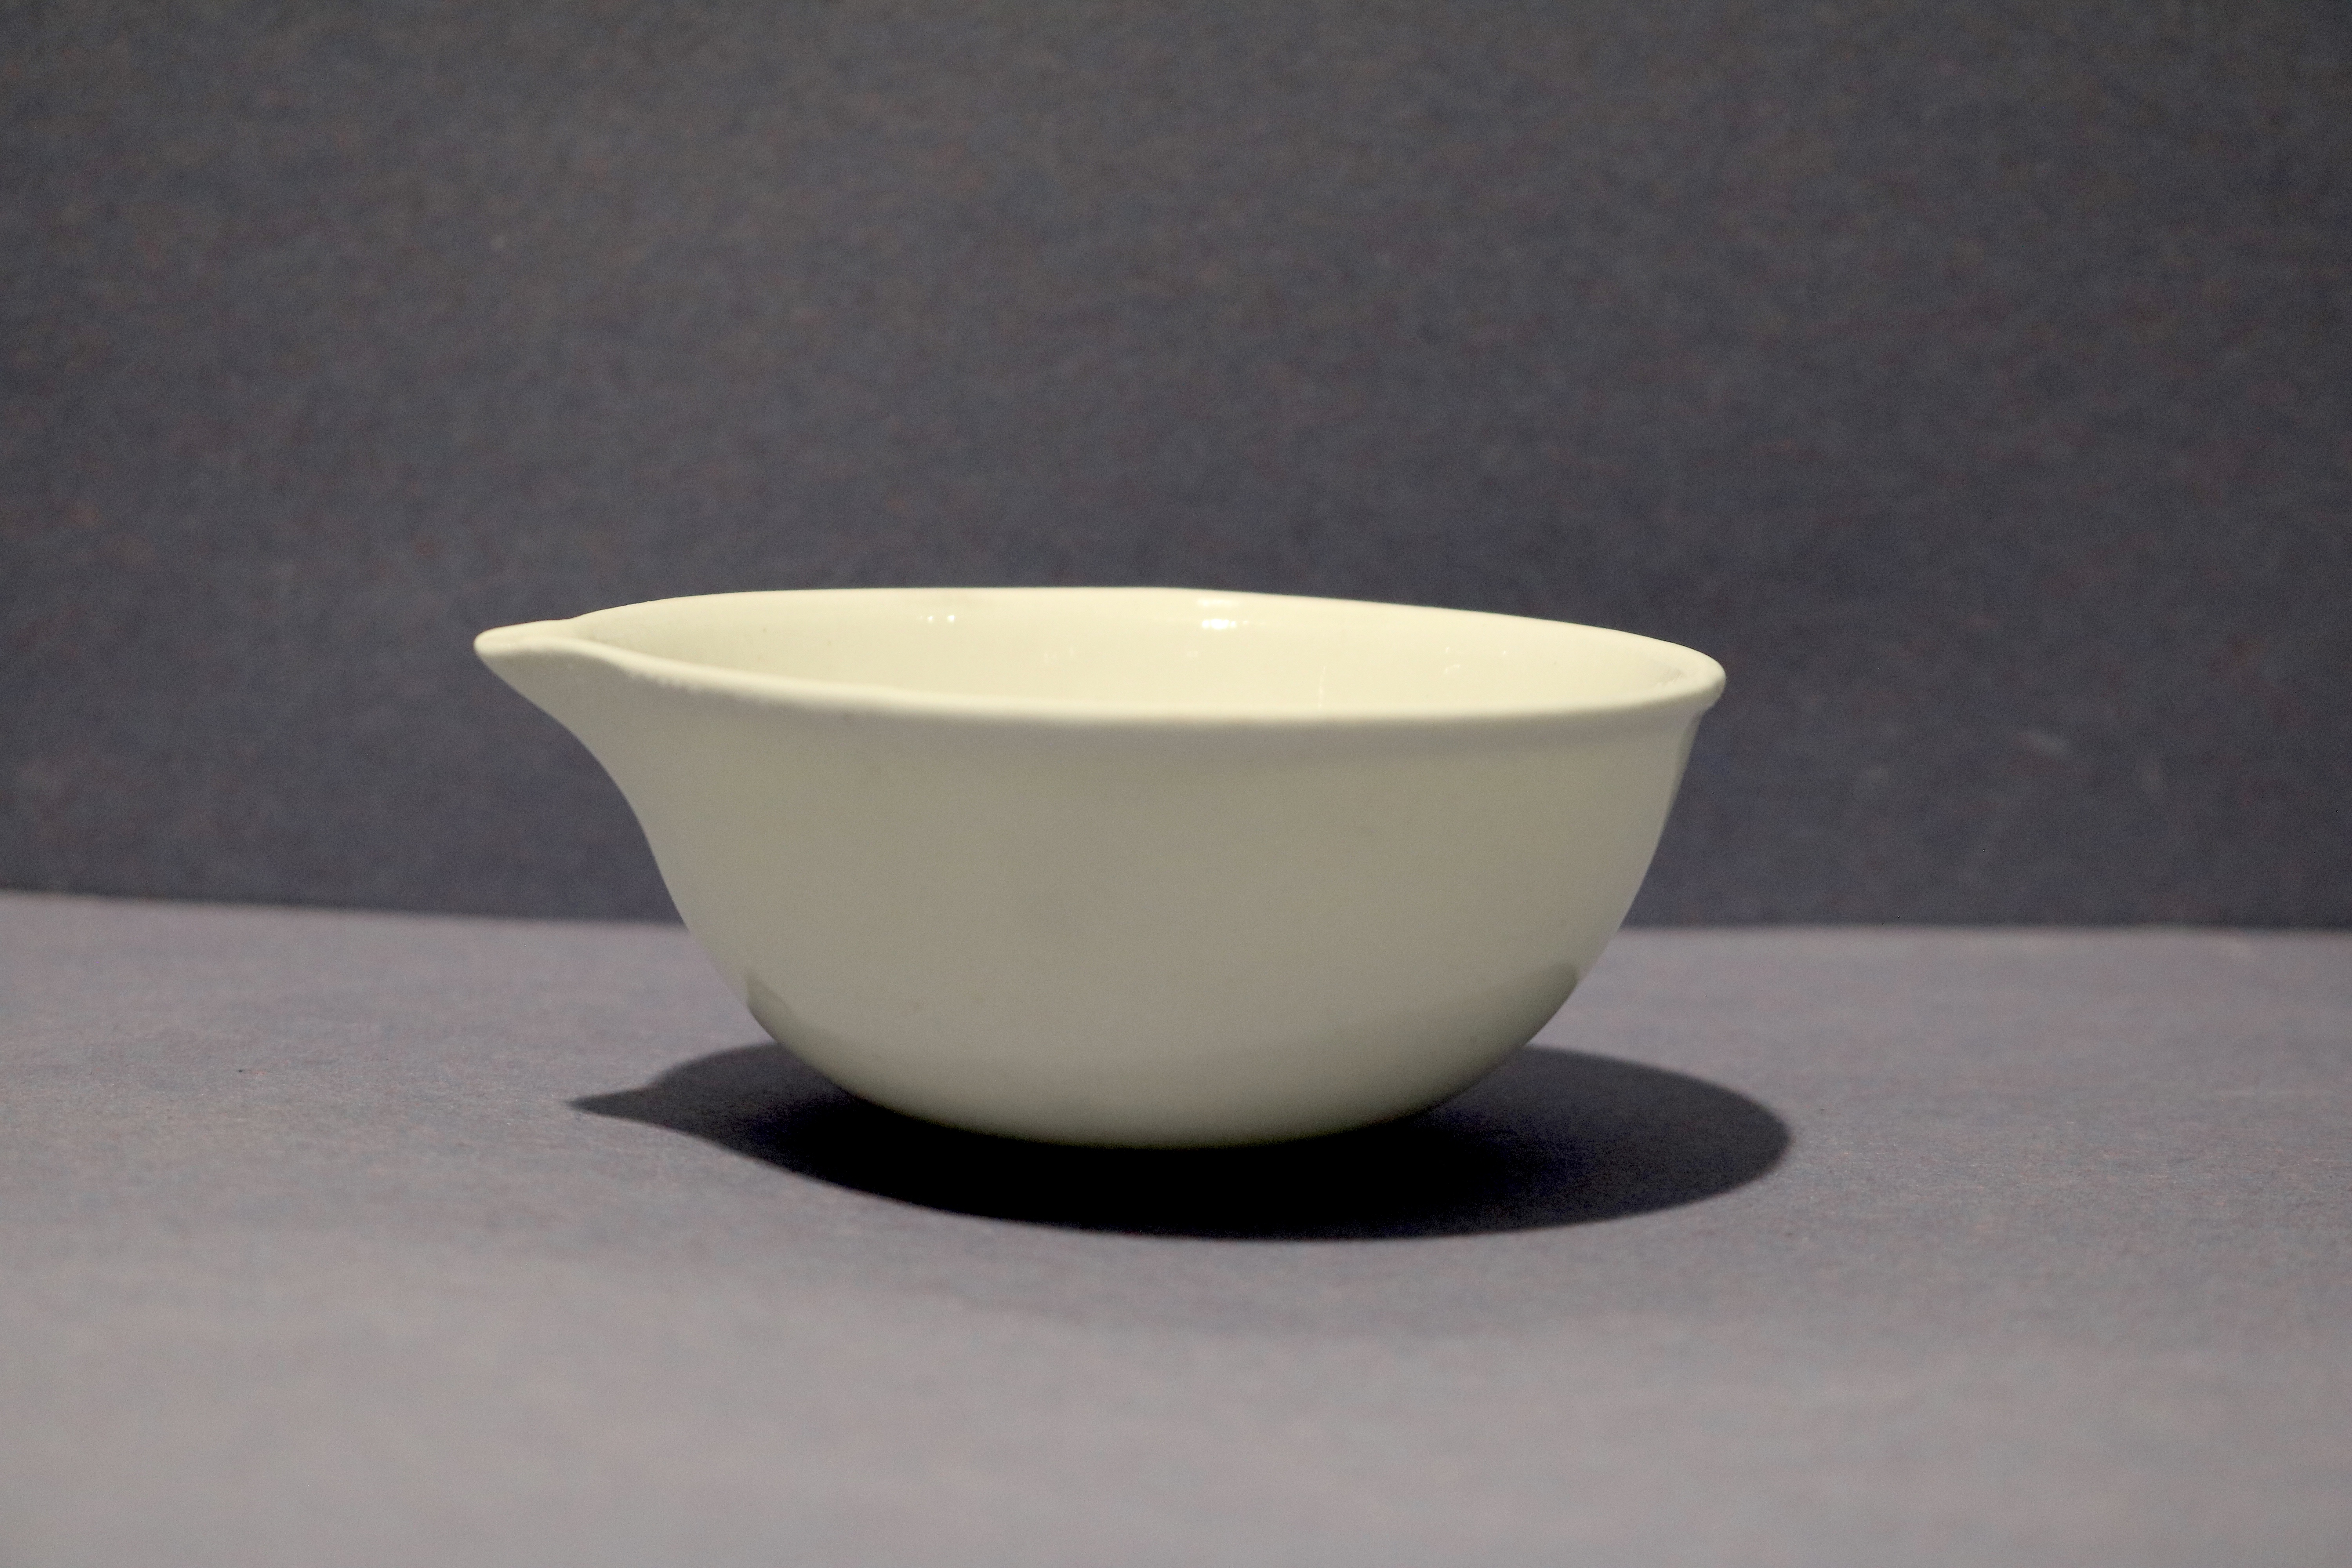 |
 |
Beakers and flasks are available in different sizes, such as 100 cm³ and 250 cm³. Smaller beakers are used for handling small amounts of substances, while larger ones are suitable for bigger quantities.
Differences between beakers and conical flasks:
- Beakers: Generally have a wide mouth and straight sides, making them easy to pour and stir. They are typically used for mixing, heating, and stirring liquids. Their wide opening makes them less suitable for containing volatile liquids or those that need to be swirled without spilling.
- Conical Flasks: Have a narrow neck and a wide bottom, which makes them ideal for mixing by swirling without spilling. They are often used when heating liquids that need to be contained or when solutions need to be mixed by gentle swirling. The narrow neck also allows for easier attachment of stoppers and other apparatus for reactions and distillation.
Heating Equipment
Heating is a common step in many chemical reactions. Proper heating equipment ensures that substances are heated safely and evenly.
| equipment | description | common uses | photo | sketch |
|---|---|---|---|---|
| Bunsen burner | gas burner with adjustable flames; used for heating substances, ensure proper setup with a heat-resistant mat and secure connections | intense and adjustable heating, suitable for a wide range of experiments | 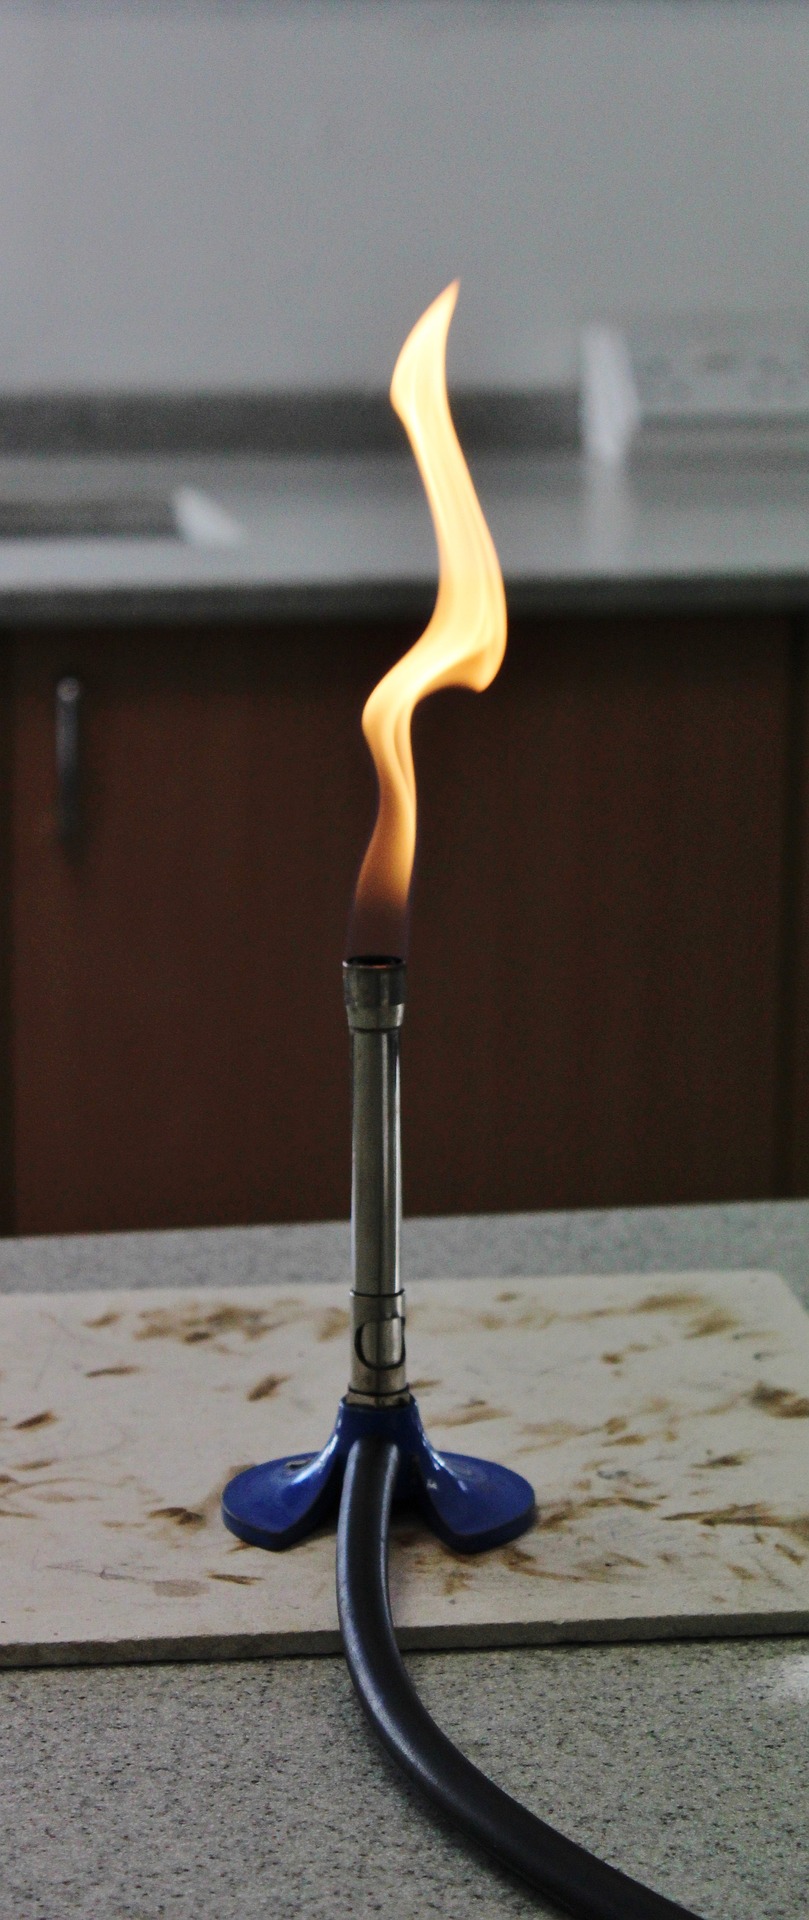 |
 |
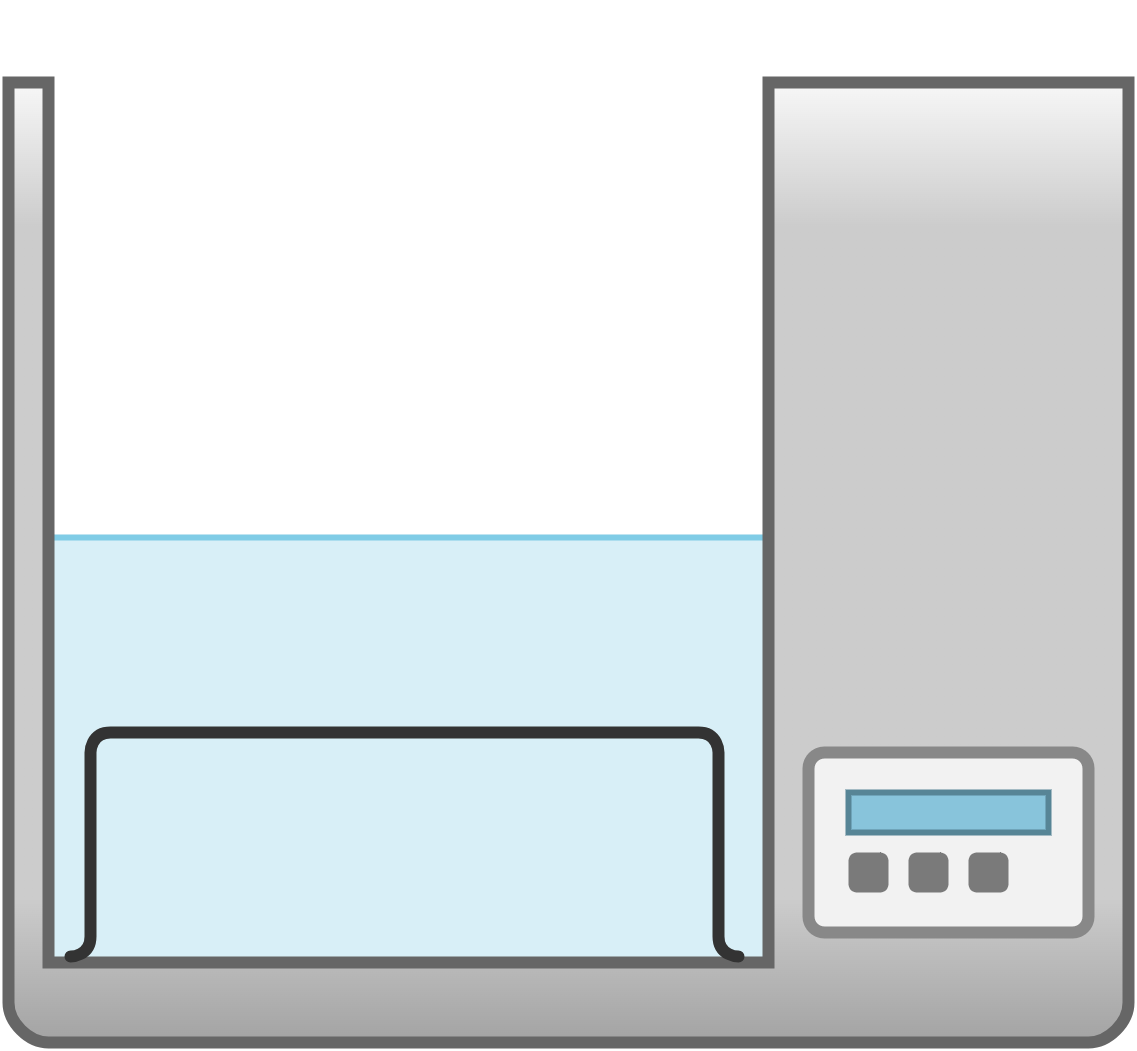
| water bath | container filled with heated water; place the sample container in the water bath | heating substances gently and evenly |  Image licensed under CC BY-SA 4.0 |
 |
| heating mantle | device that provides uniform heating for round-bottom flasks; place the flask inside the mantle | heating flammable liquids safely |  |
|
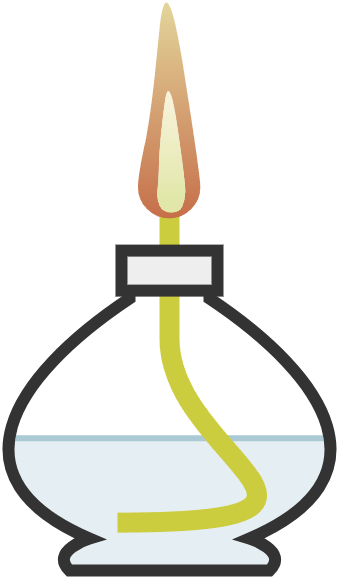
| spirit burner | small burner using alcohol as fuel; light the wick and put out with the lid | gentle heating of substances |  Image licensed under CC BY-SA 4.0 |
 |
Robert Wilhelm Bunsen was a German chemist born in 1811, renowned for his work in spectrum analysis and the invention of the Bunsen burner. Alongside Gustav Kirchhoff, he discovered the elements caesium and rubidium using spectroscopy. The Bunsen burner, which provides a consistent and controllable heat source, revolutionised laboratory work and became a staple in chemical laboratories worldwide. Bunsen's contributions to organic chemistry and inorganic chemistry have left a lasting legacy, significantly impacting scientific research and education.
How to use a Bunsen burner:
- Ensure that the area around the Bunsen burner is not near any flammable materials. Place a heat-resistant mat under the burner.
- Connect the Bunsen burner to the gas tap using a rubber hose. Ensure the connection is secure.
- Place the substance to be heated on a tripod and gauze mat above where the flame will be.
- Turn on the gas tap and bring a lit match or burning splint to the top of the burner.
- The Bunsen burner has a collar that can be turned to adjust the air hole. Closing the air hole will produce an orange safety flame, which is cooler (than a blue flame, but still very hot) and more visible. Opening the air hole will produce a blue flame, which is hotter and used for most heating tasks.
- Turn on the gas tap and bring a lit match or burning splint to the top of the burner. Light the burner and adjust the flame as needed.
- When finished, turn off the gas tap first to extinguish the flame. Then disconnect the burner from the gas supply.
Never blow out a Bunsen burner flame or a lit match/splint. Blowing can spread sparks and cause accidental fires. Always place the burning item safely on a heat-resistant mat to let it extinguish naturally.
Miscellaneous Apparatus
| apparatus | description | common uses | photo | sketch |
|---|---|---|---|---|
| heat-resistant mat | mat to place under hot equipment; place under Bunsen burner or hot apparatus | protecting surfaces from heat |  |
 |
| tripod | stand used to support equipment over a flame; place on a stable surface and ensure balance | holding equipment over Bunsen burners |  |
|
| gauze mat | metal mesh placed on tripods; place between the tripod and the vessel being heated | evenly distributing heat | 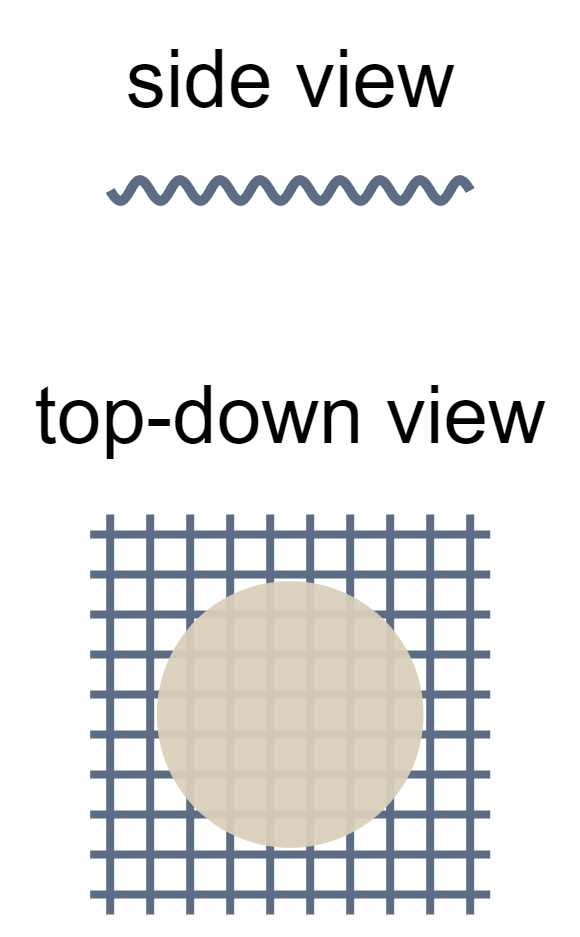 |
|
| clay triangle | wire frame with clay covering; place on a tripod over a Bunsen burner | supporting a crucible for heating |  |
 |
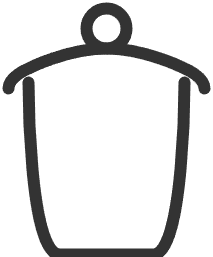
| crucible | ceramic or metal container; place on a clay triangle over a Bunsen burner | heating substances to high temperatures | 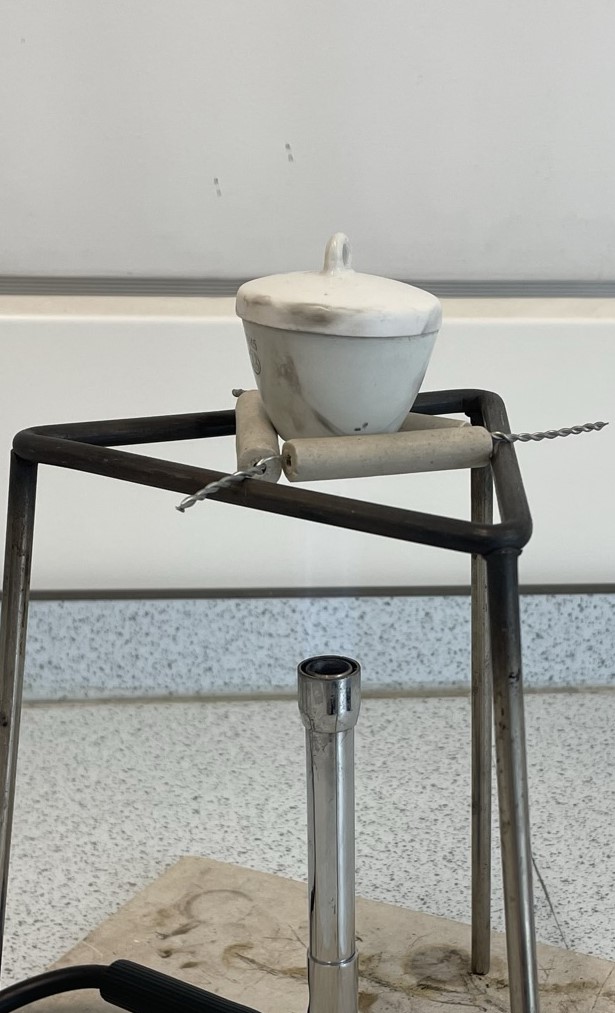 |
 |
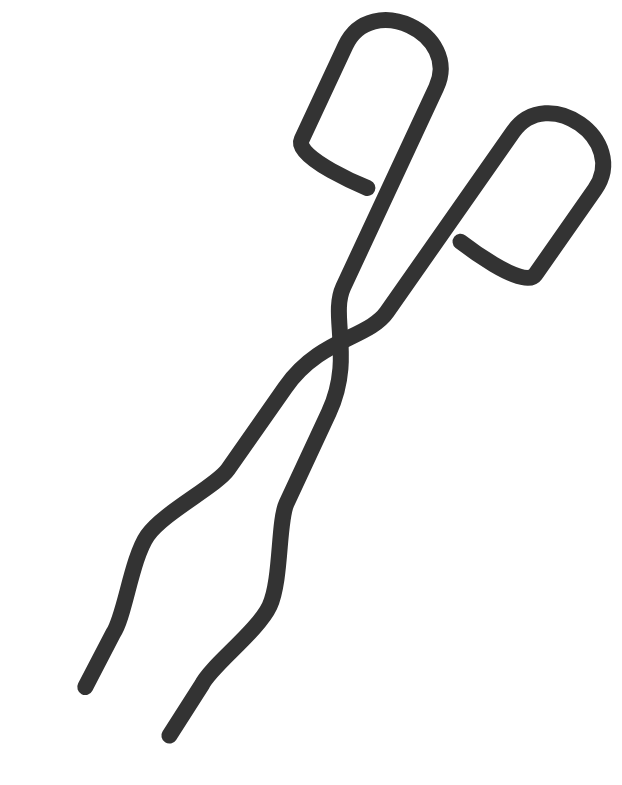
| tongs | tool with long handles and gripping ends; grip the object firmly | handling hot equipment or materials |  |
 |
| test tube holder | clamp or tong-like tool for holding test tubes; grip the test tube firmly but gently | holding and transferring test tubes |  |
 |
| spatula | small scoop; scoop small amounts carefully to avoid spillage | transferring solid chemicals | 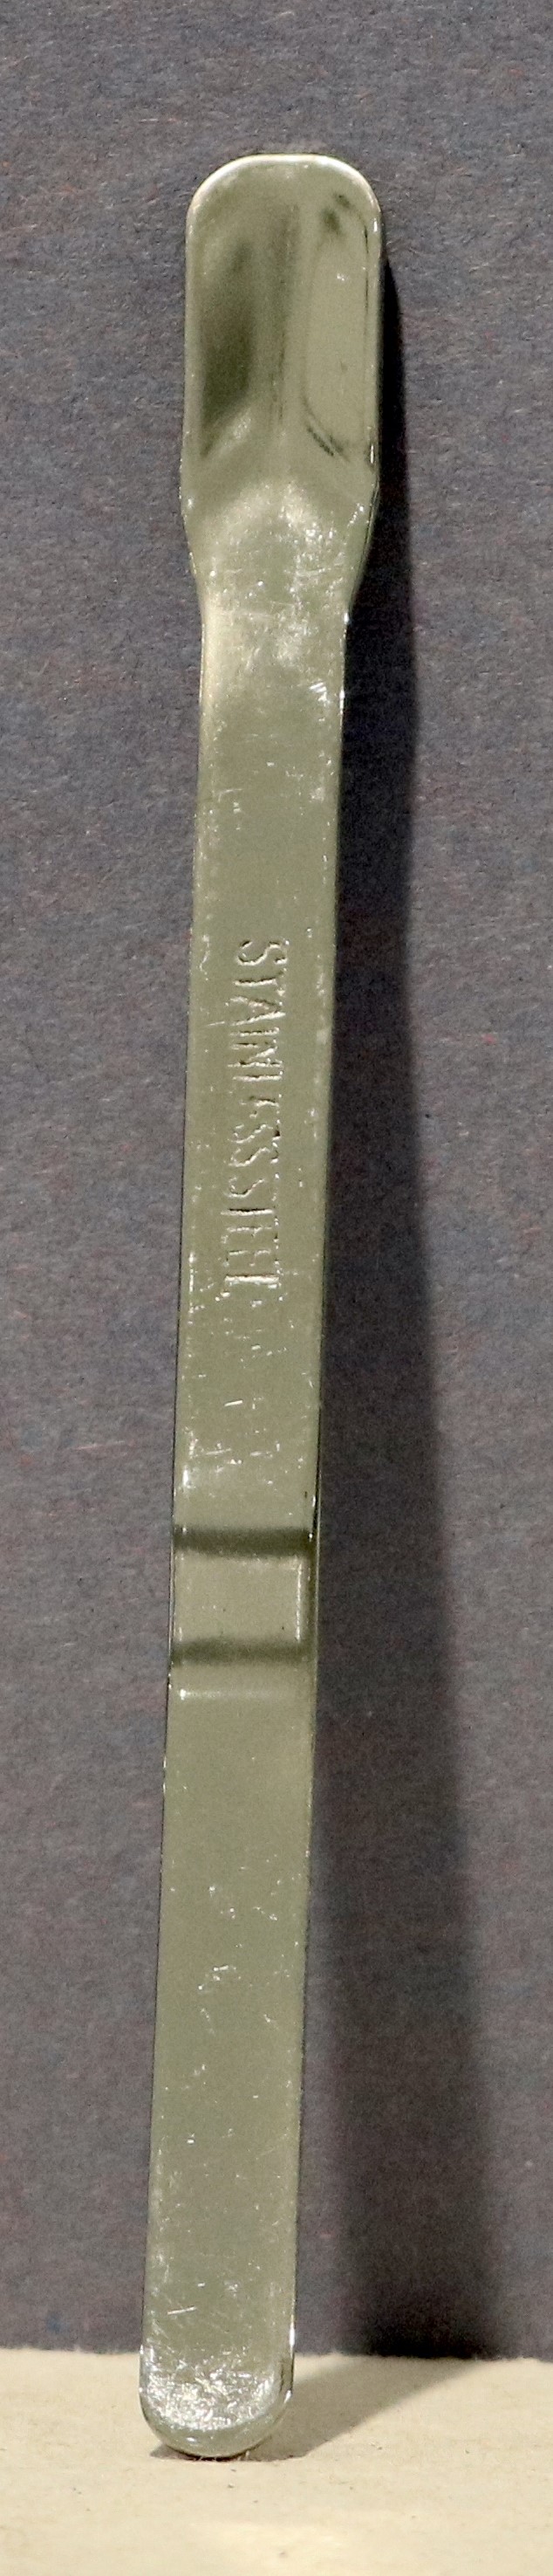 |
 |
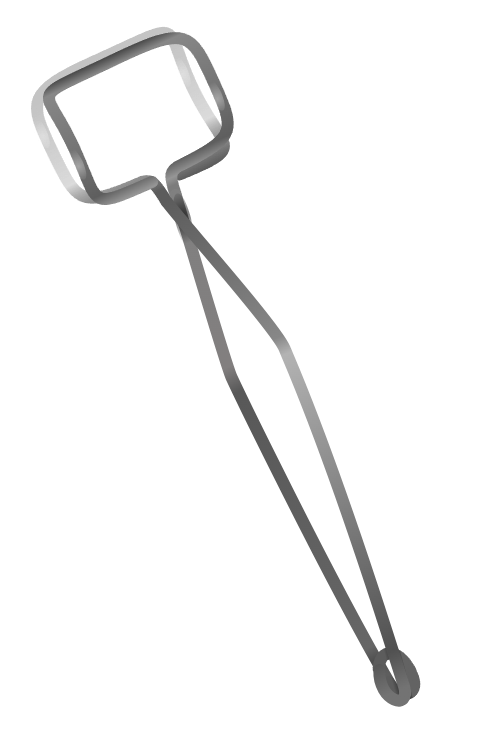
| tweezers | small tool for picking up objects; grasp objects firmly but gently | handling small or delicate items |  |
 |
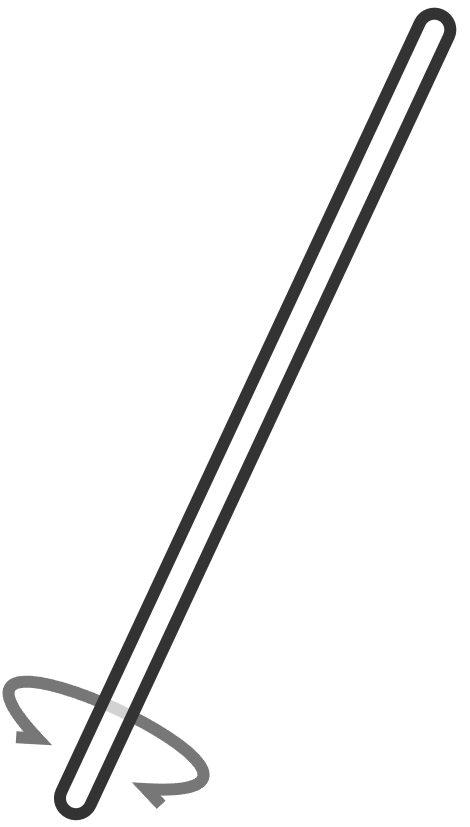
| glass stirring rod | glass rod used for stirring; stir gently to avoid splashing | mixing chemicals in solutions |  |
 |
| filter funnel and paper | cone-shaped tool used with paper; place the filter paper inside the funnel and pour the mixture through | filtering solids from liquids |  |
 |
| clamp stand | stand with adjustable clamps; adjust the clamps to fit the apparatus securely | holding and securing apparatus | 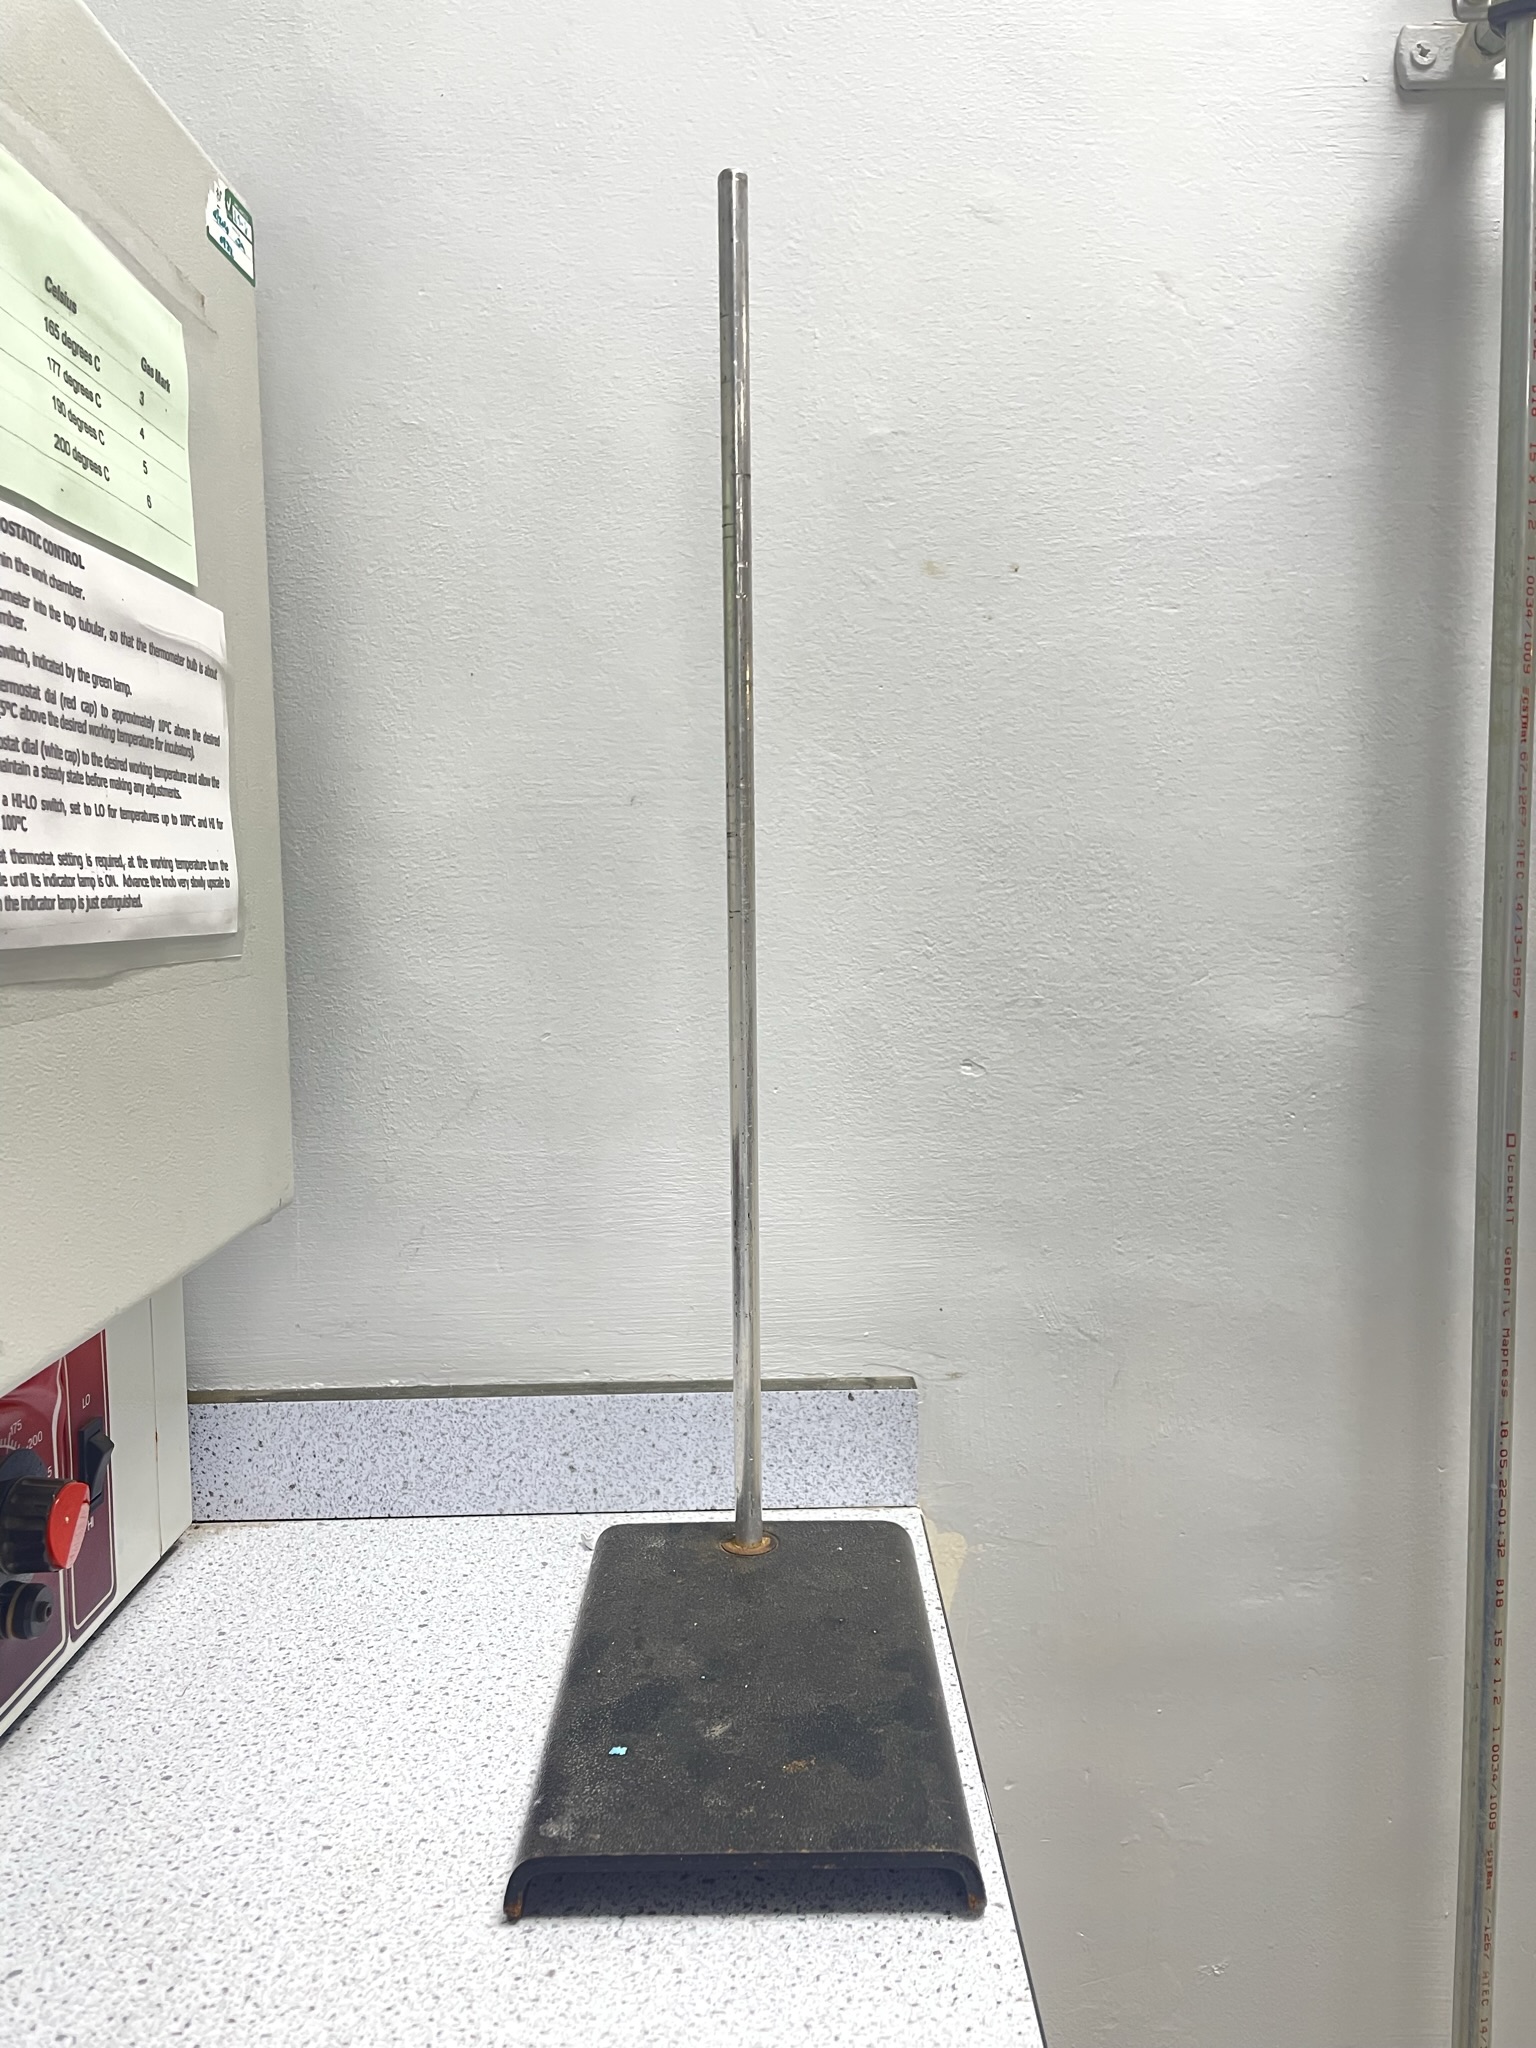 |
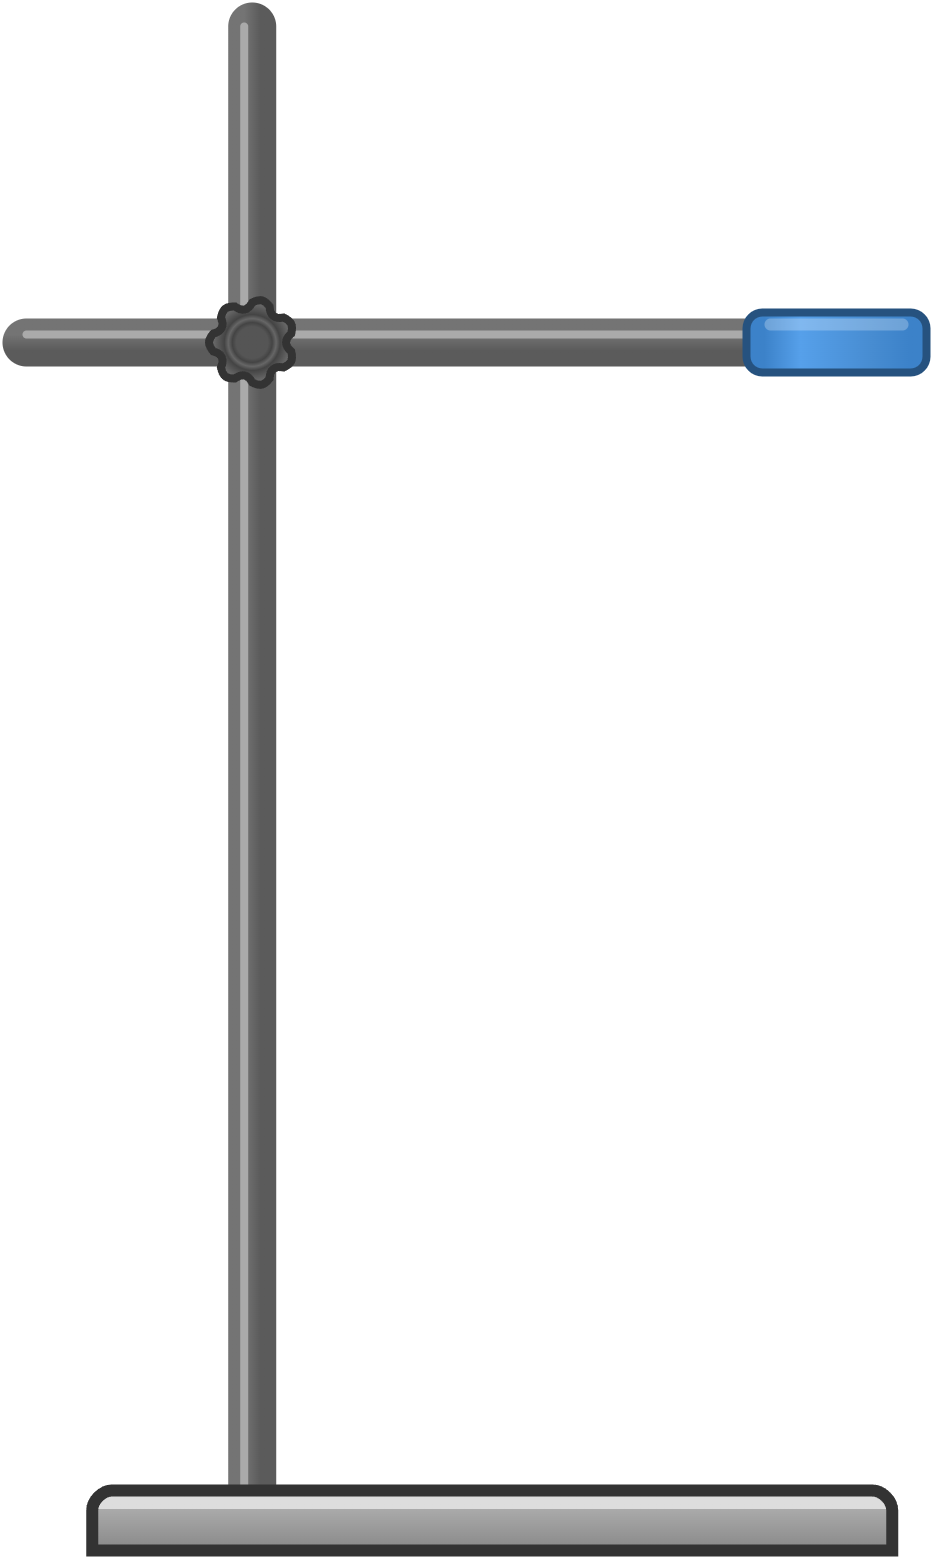 |
| boss | part of the clamp stand setup; secure the clamp in the boss and adjust the position as needed | hold clamps at various heights on the stand | 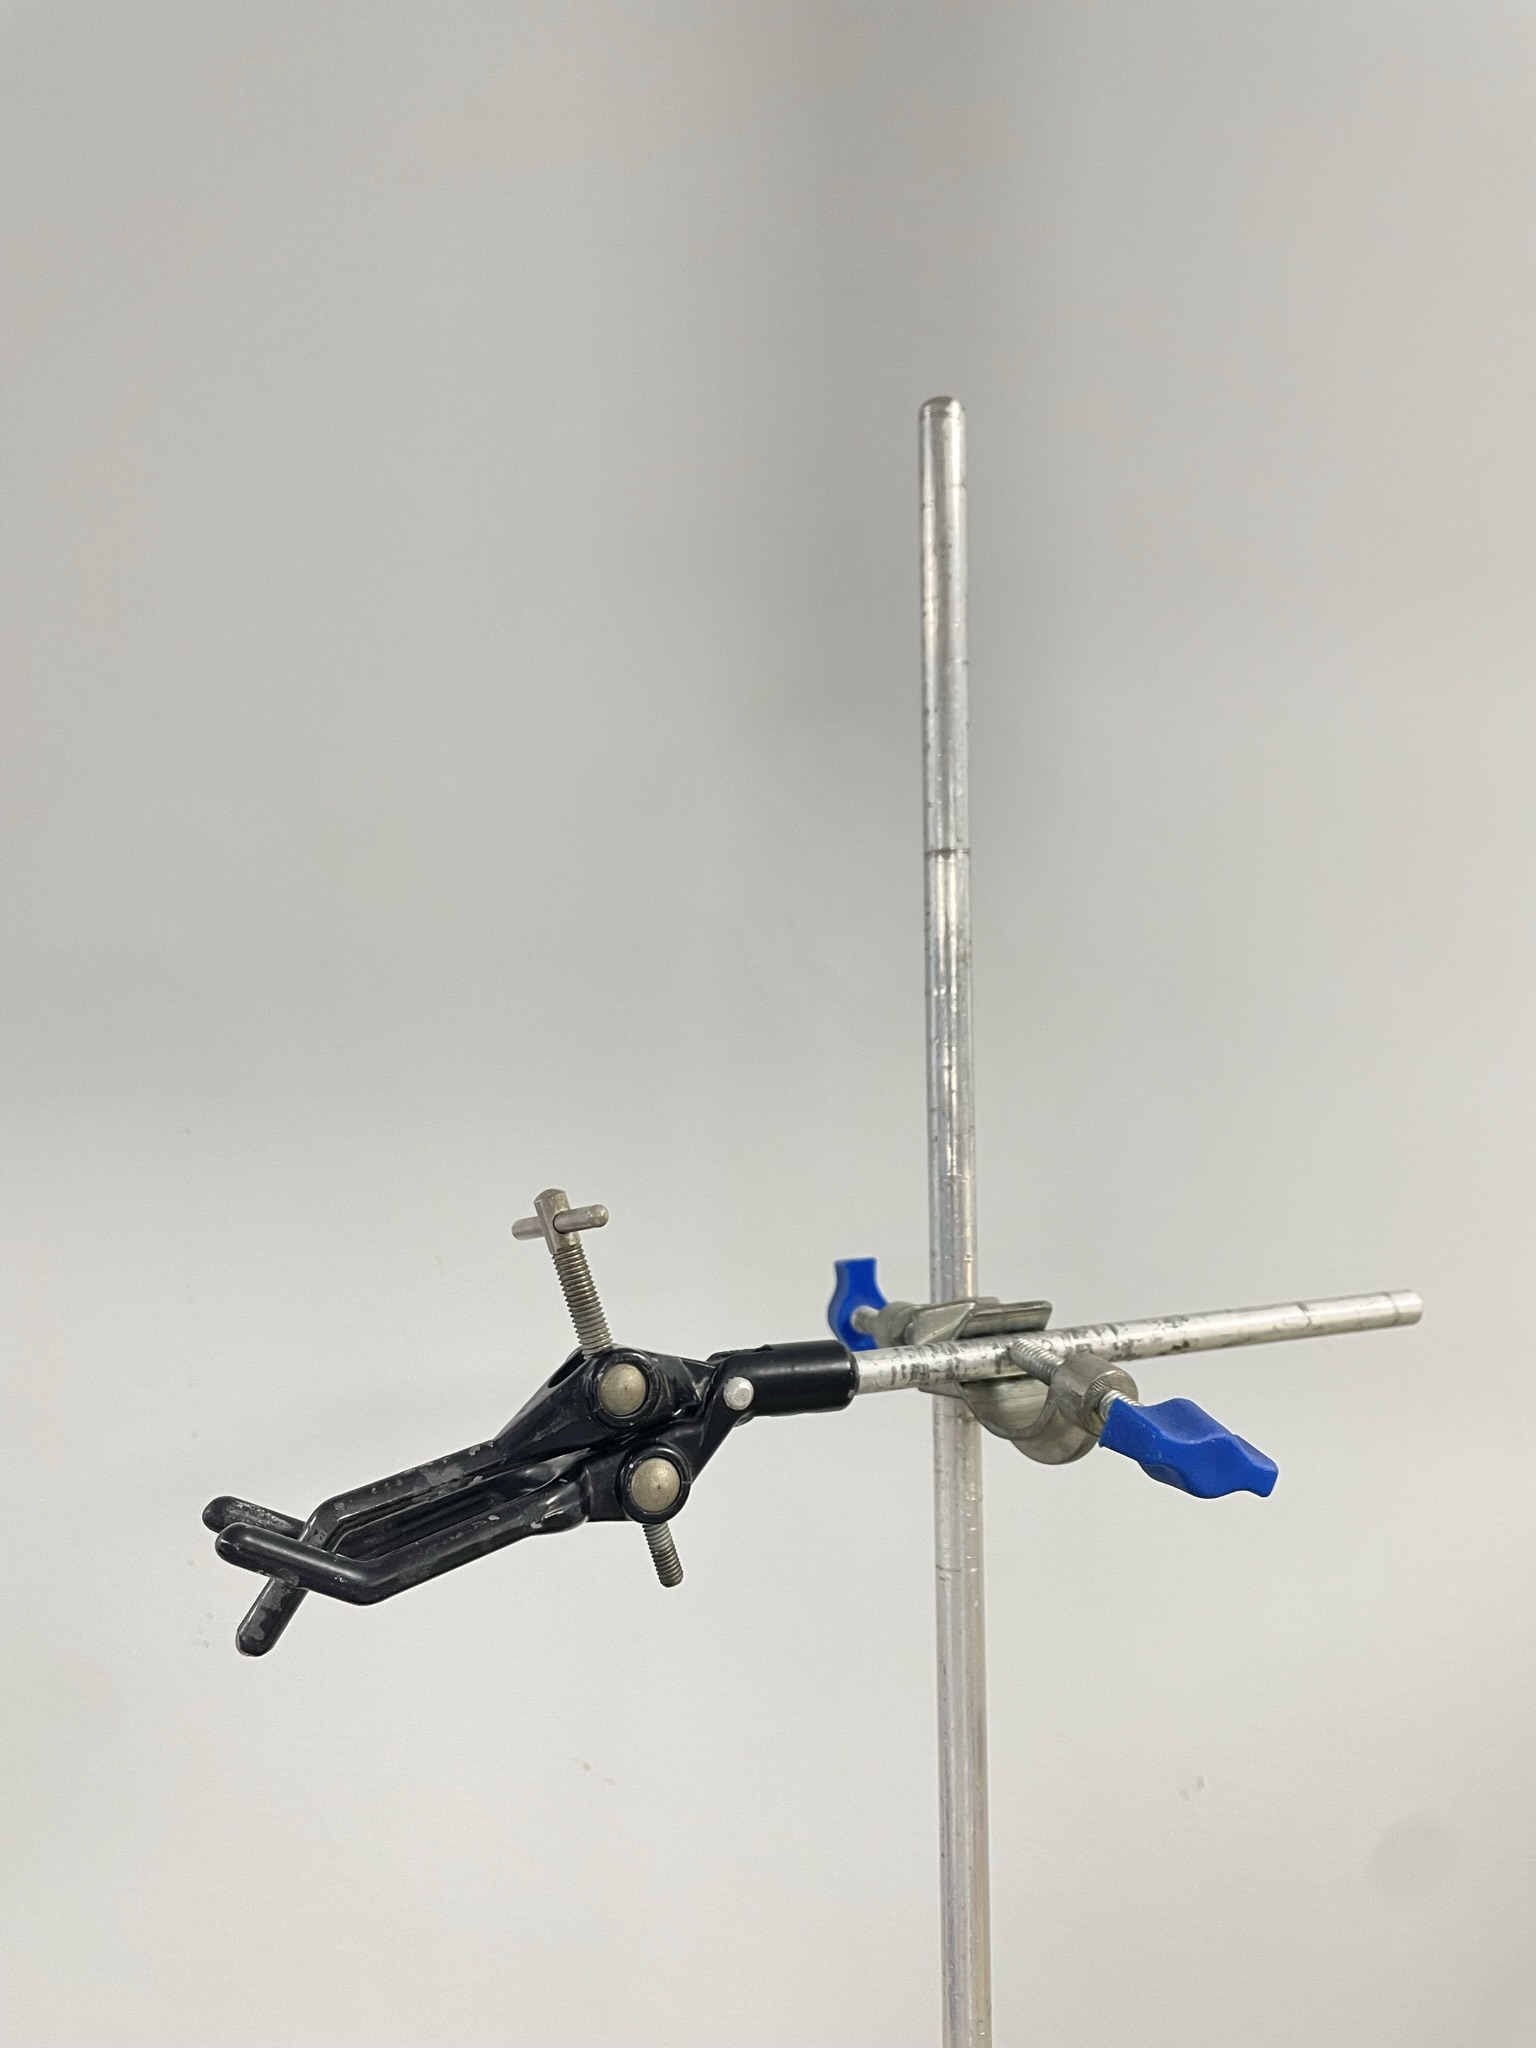 |
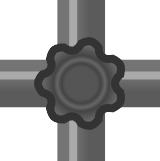 |
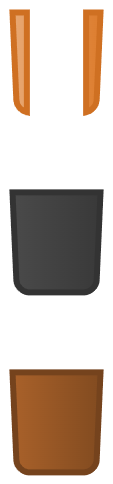
| bung | rubber or cork plug used to seal containers; fit snugly into the opening of test tubes or flasks | sealing containers, preventing gases or liquids escaping | 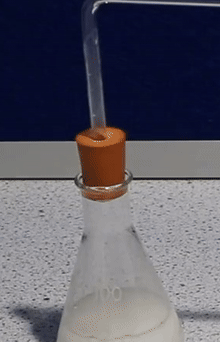 |
 |
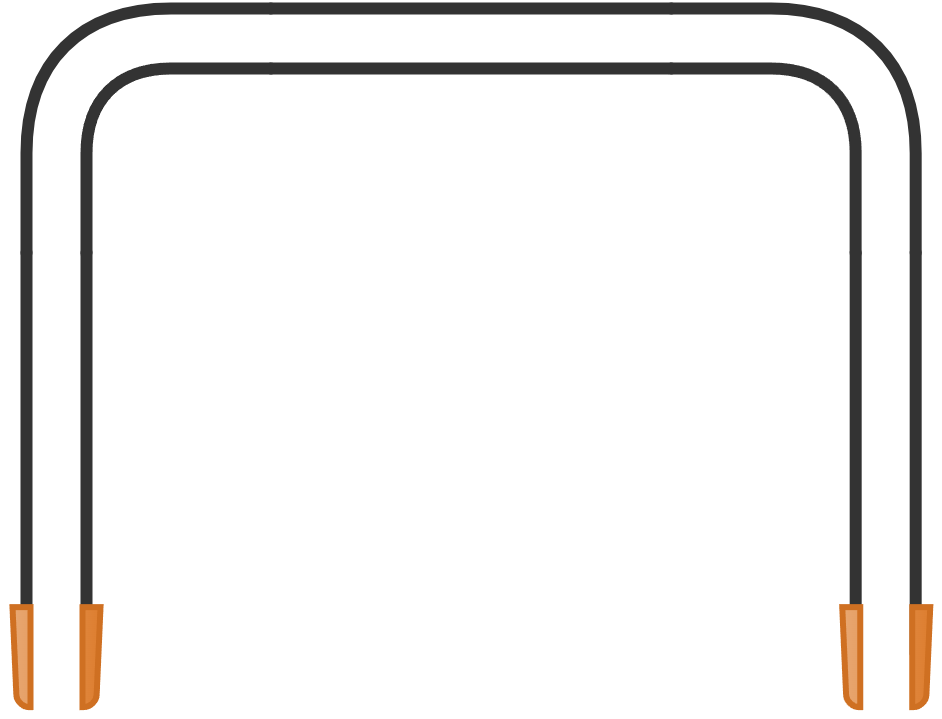
| delivery tube | tube used to transfer gases; connect to the bung and secure tightly | transferring gases between containers |  |
 |
| Liebig condenser | glass condenser with an inner tube for vapour and an outer jacket for cooling water; used in distillation setups, connect to a distillation flask and run cooling water through the jacket | condensing vapours into liquids during distillation | 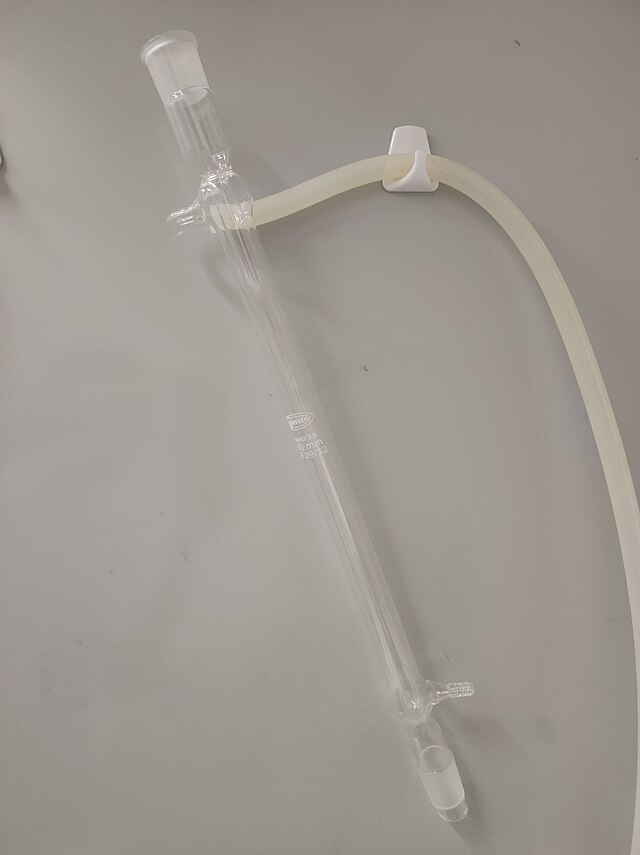 Image licensed under CC BY-SA 4.0 |
 |
Spatulas are designed for transferring solid chemicals. They are typically made of metal or plastic and are not suitable for stirring because they can react with certain chemicals, especially acids, and may scratch glassware.

Glass stirring rods are designed specifically for mixing chemicals in solutions. They are inert and will not react with most chemicals, including acids, and they are smooth, which helps prevent scratching glassware. Always use a stirring rod instead of a spatula to mix solutions to avoid contamination and damage to equipment.
Safety Gear
Safety gear is essential in a chemistry lab to protect you from potential hazards such as chemical spills, splashes, and fumes. Using the appropriate safety equipment ensures that experiments can be conducted safely and reduces the risk of accidents.
| apparatus | description | common uses | photo |
|---|---|---|---|
| safety glasses | protective eyewear with side shields; wear at all times in the lab | protecting eyes from chemical splashes and debris | 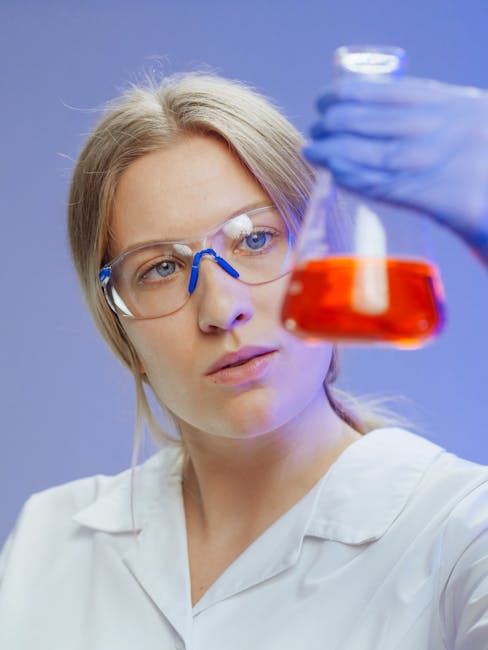 |
| safety goggles | snug-fitting protective eyewear; wear over prescription glasses if needed | providing enhanced eye protection | 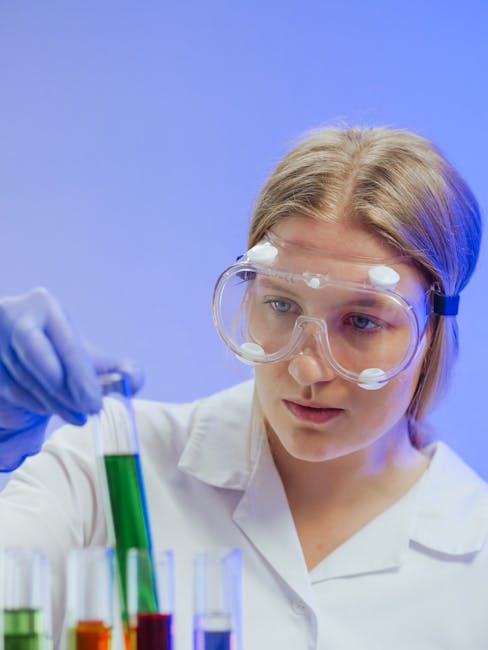 |
| lab coat | protective garment; wear buttoned up with sleeves rolled down | protecting skin and clothing | 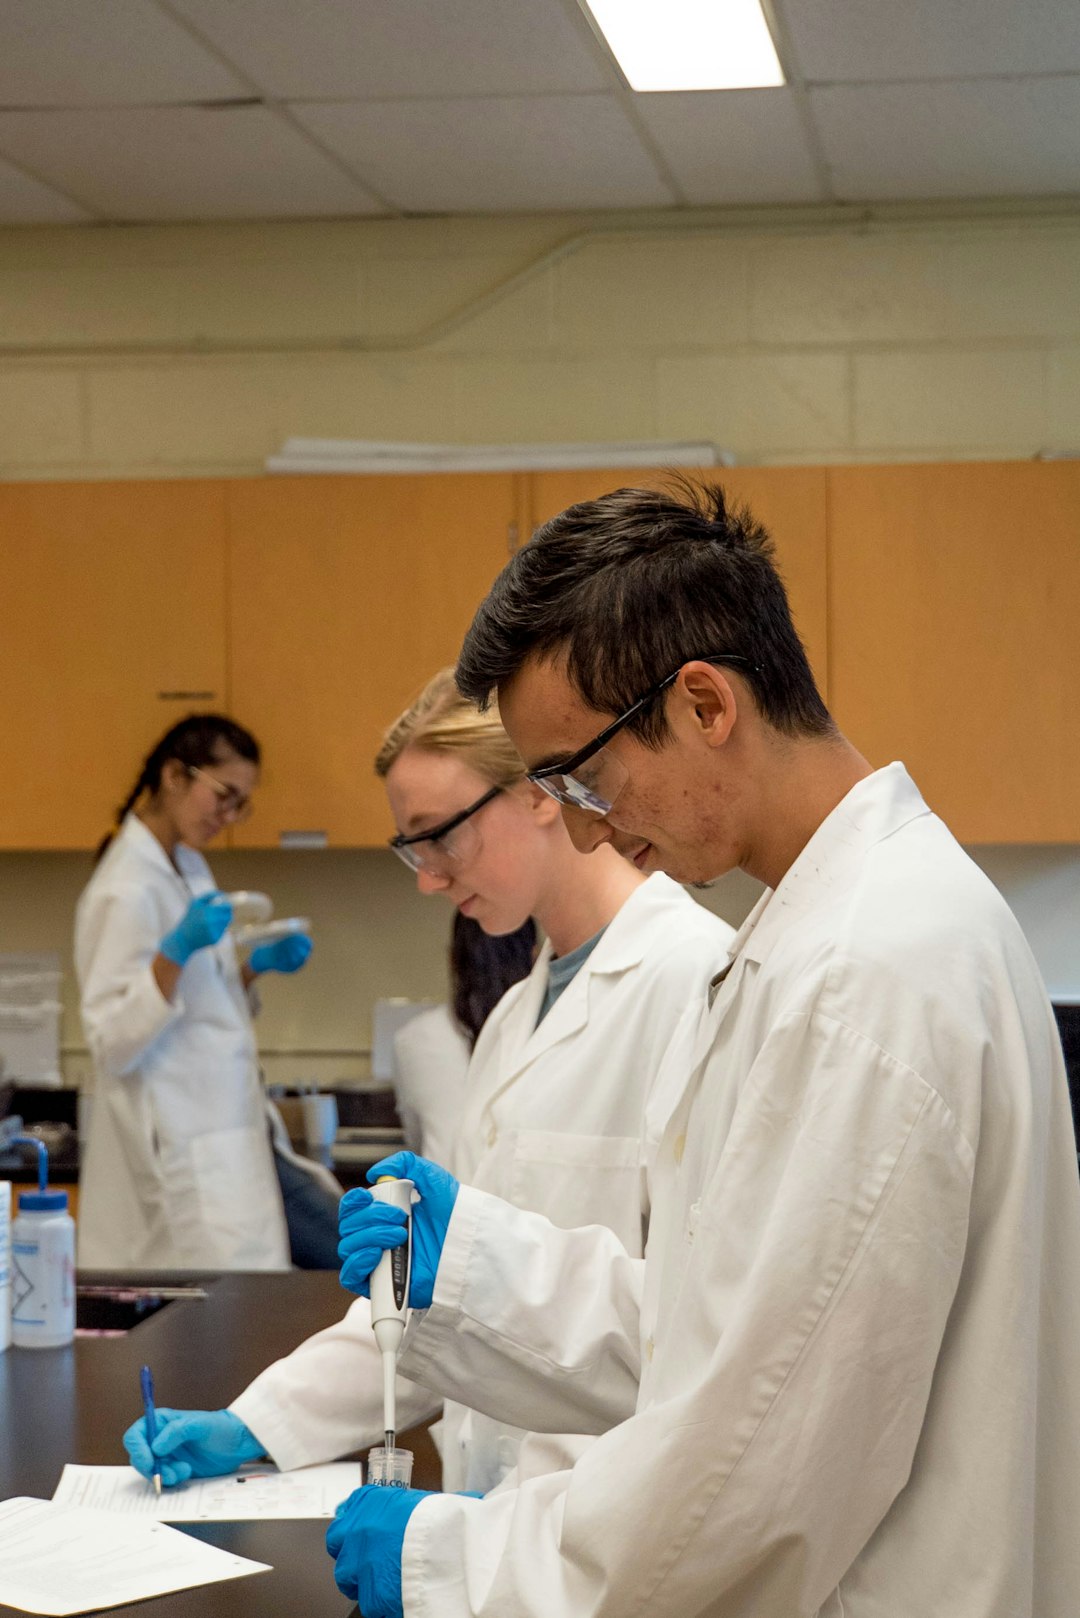 |
| gloves | protective handwear; choose gloves made from appropriate material (e.g., nitrile, latex) | protecting hands from chemicals | 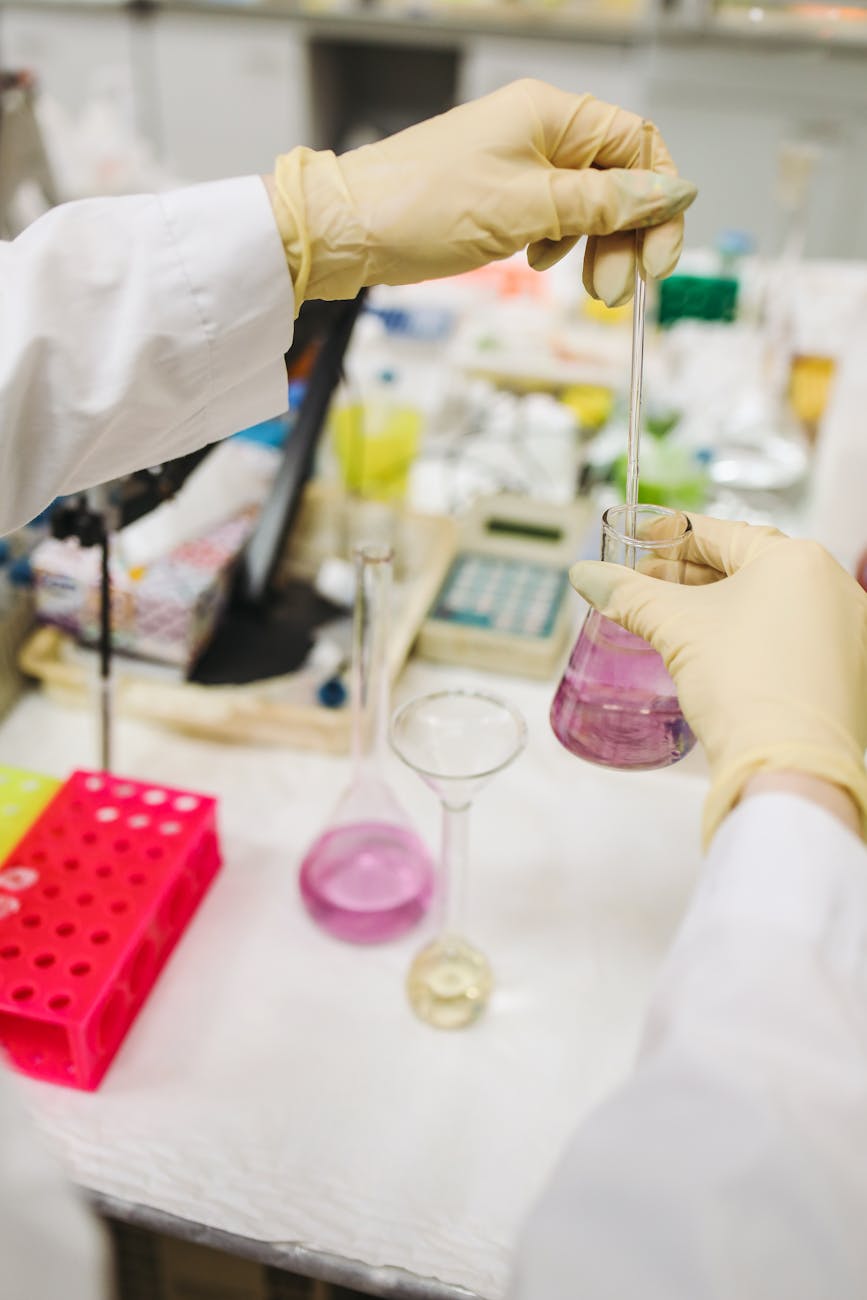 |
| safety screen | transparent screen placed between the experiment and the user; place in front of the workstation | protecting from splashes and debris | 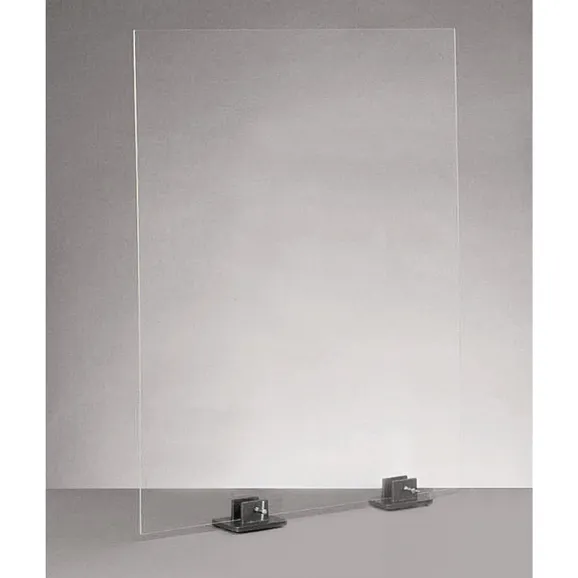 |
| face shield | transparent plastic shield covering the face; wear over safety glasses or goggles | providing full-face protection | 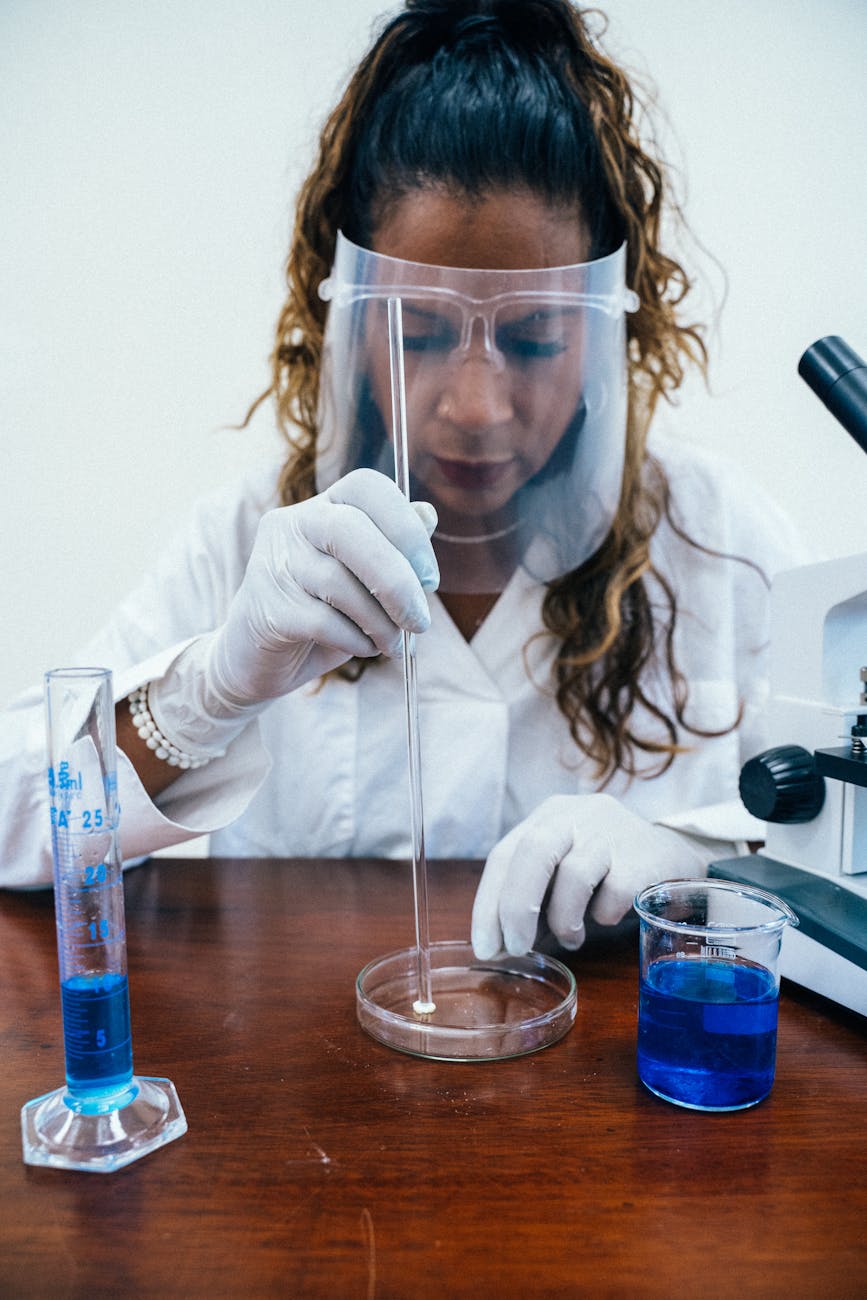 |
| fume hood | ventilated enclosure; work within the hood with the sash at the appropriate height | containing and venting harmful vapours | 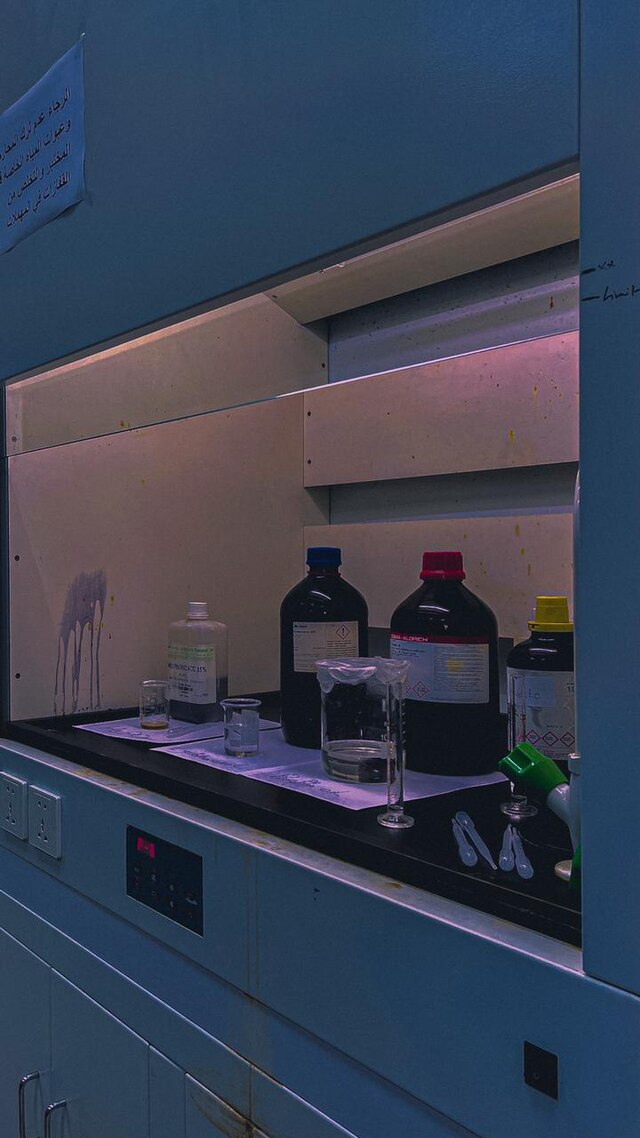 |
Listen to this page (feature coming soon)
Did you know?
- The beaker, a staple in every chemistry lab, gets its name from the Middle English word "beker," which means a large drinking cup. The design has evolved, but its purpose of holding and mixing liquids remains the same.
- The conical flask, also known as an Erlenmeyer flask, was designed by German chemist Emil Erlenmeyer in 1861. Its narrow neck and wide base make it ideal for mixing by swirling without spilling.
- Laboratory glassware, such as beakers and flasks, is typically made from borosilicate glass, which is resistant to thermal shock and chemical corrosion. This durability is crucial for conducting safe and accurate experiments.
Why do we care?
- Using the right equipment ensures accurate measurements and reliable results, which are essential in scientific research, quality control in manufacturing, and medical testing.
- Proper use of lab equipment helps prevent accidents, ensuring a safe working environment in schools, research labs, and industries dealing with hazardous materials.
- Principles learned with lab equipment are applicable in daily life, such as cooking (measuring ingredients accurately), maintaining swimming pools (measuring pH levels), and even in brewing (controlling fermentation processes).
Key information
- Apparatus is the setup or collection of tools for a particular experiment.
- Different sizes of equipment are used based on the volume of substances being measured or reacted.
- Analogue instruments provide a scale readout and can be less precise due to human error, limited resolution, and wear and tear.
- Digital instruments provide a numerical readout, increasing precision and accuracy, and are often more reliable.
- Reading the meniscus correctly ensures accurate and consistent measurements.
- Beakers are ideal for general mixing, heating, and stirring, while conical flasks are better for mixing by swirling and containing volatile liquids.